Wednesday, September 12, 2018

Vintage Coffee Table Gets A Second Chance

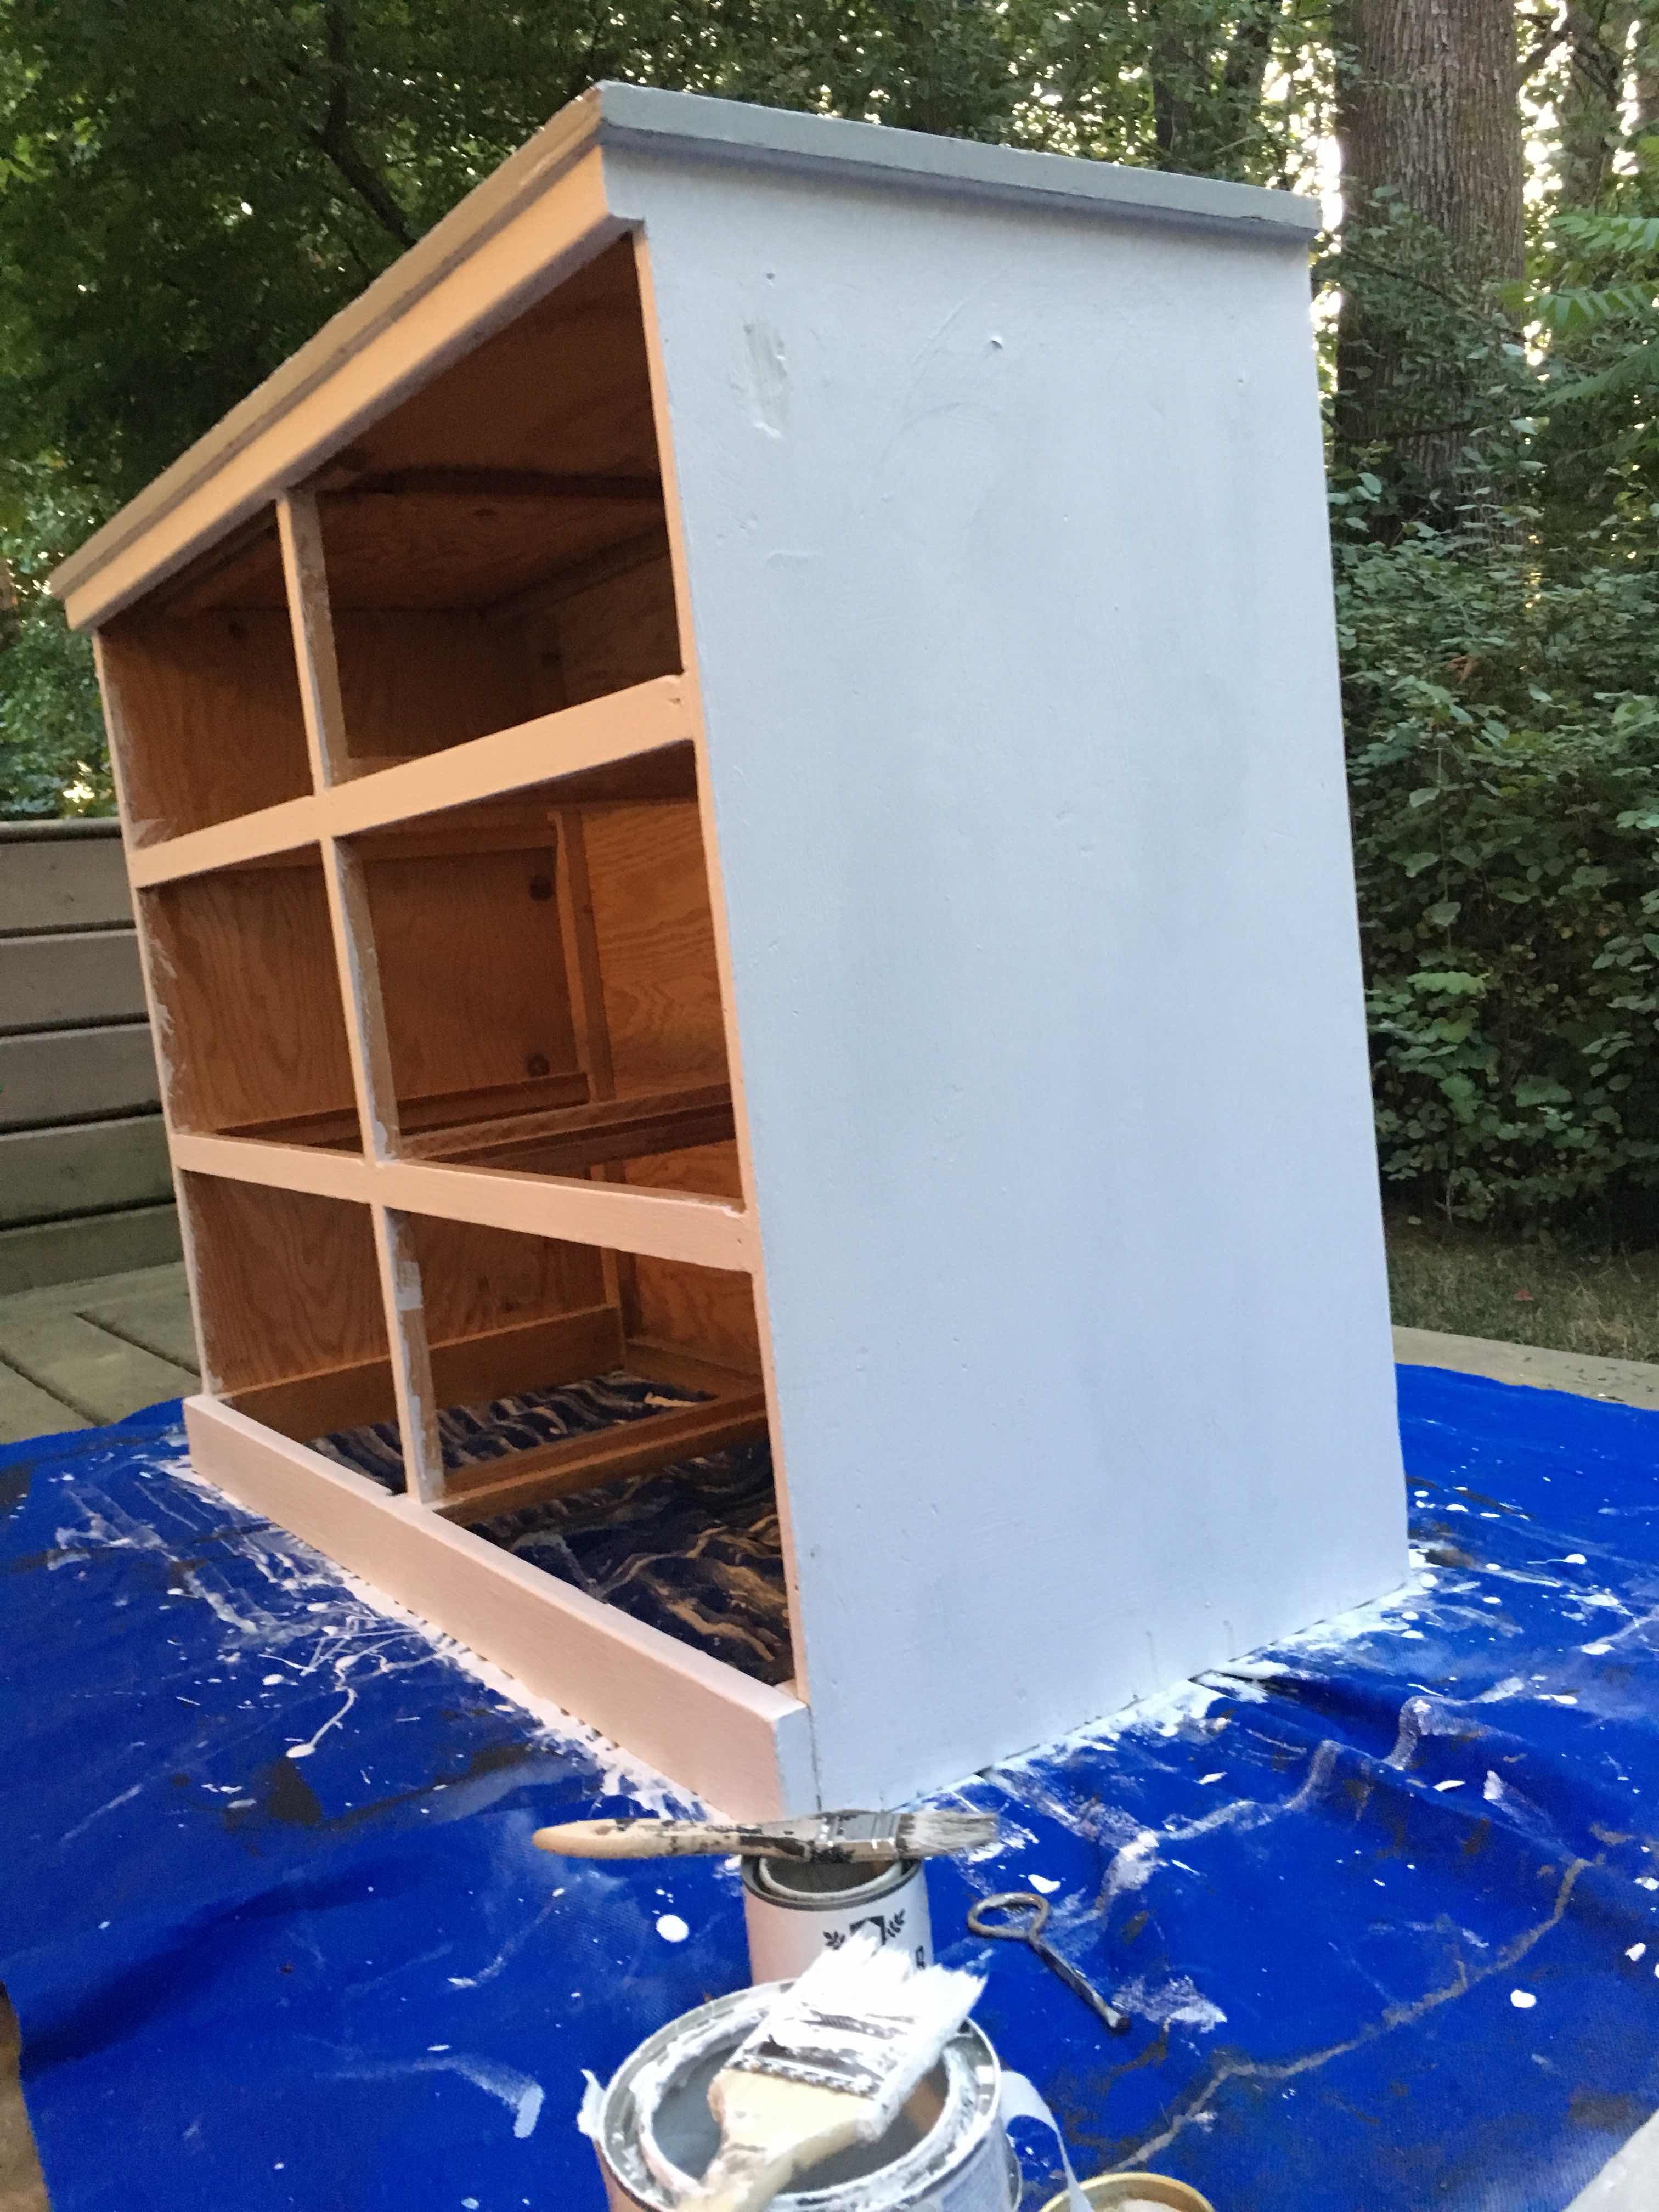
Hey everyone! Hope you’re all doing well.  This past summer flew by way too fast! It’s been hard to keep up with all the projects I’ve been working on, it’s finally time I share this one with you! This adorable coffee table has the perfect style and quality to make it stand out, the only thing it really needed was an update. 


After sanding down the tabletop, I wanted to do a cute Parisian stencil, but as you’ll see in a bit, it didn’t go as planned :( 


I found the cutest stencil and set to work, after hand painting it, I was very proud of my hard work! The only problem: I used a stain that was way too dark! Mental note for next time! 


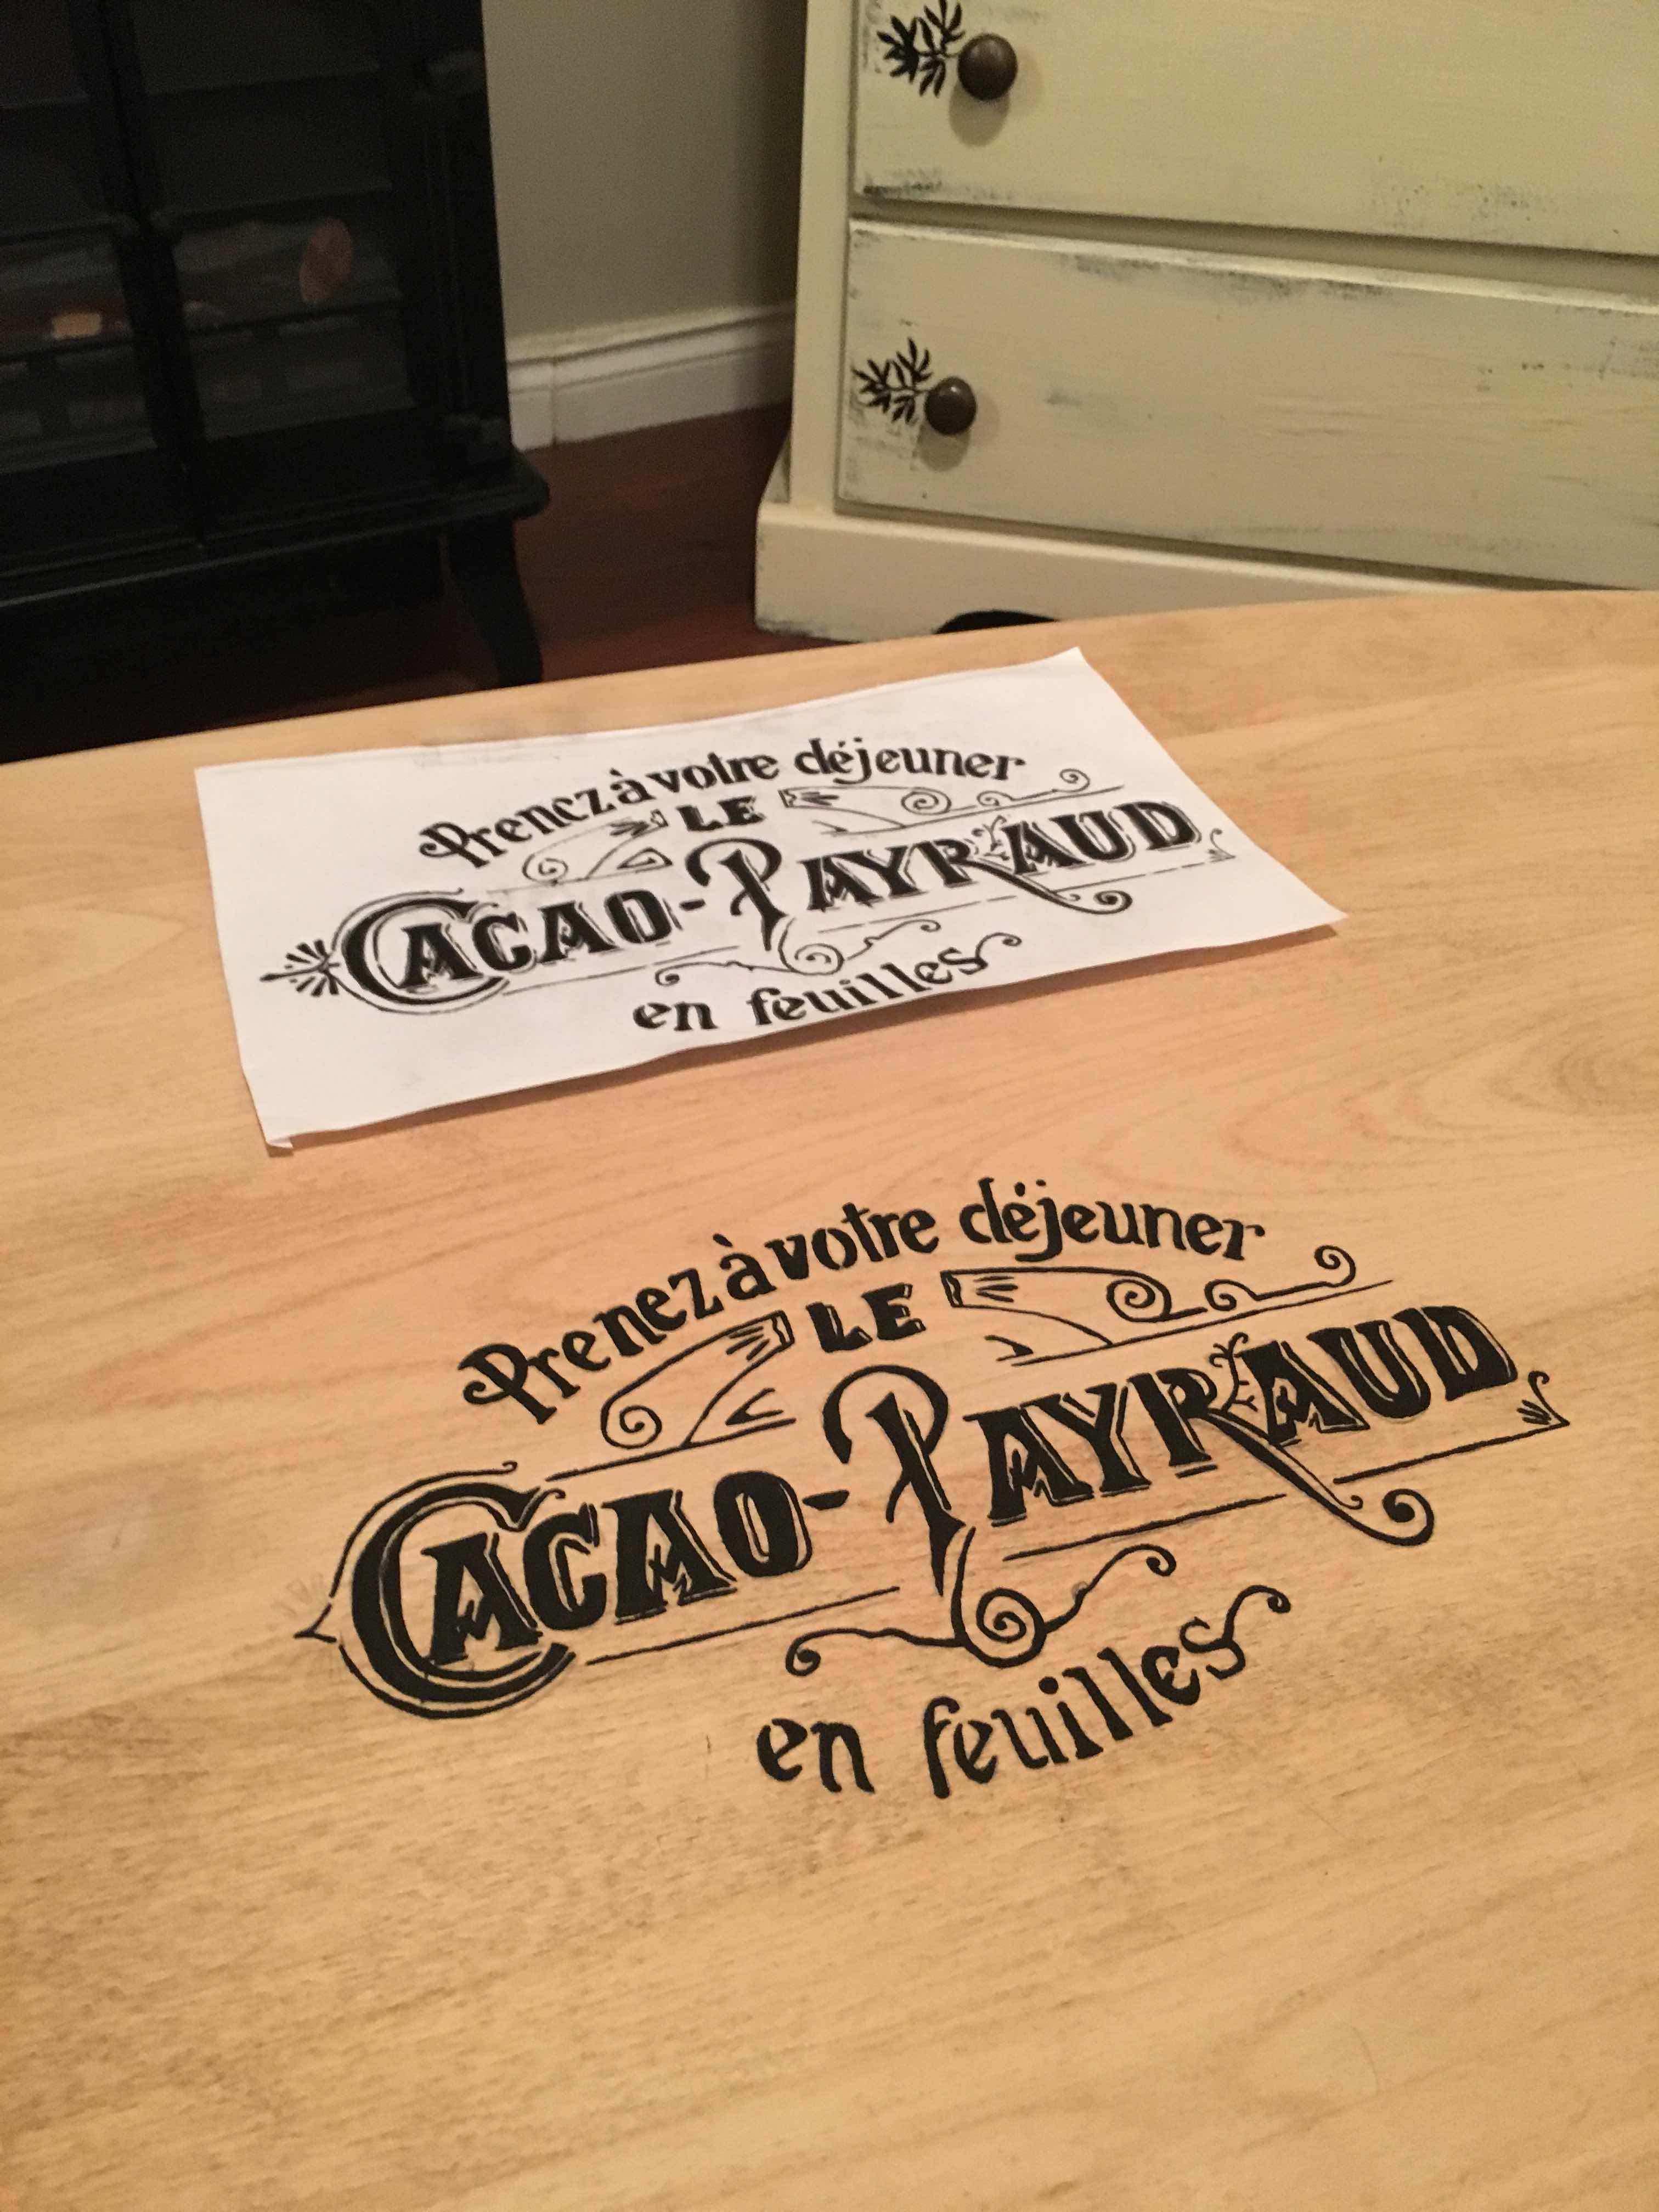
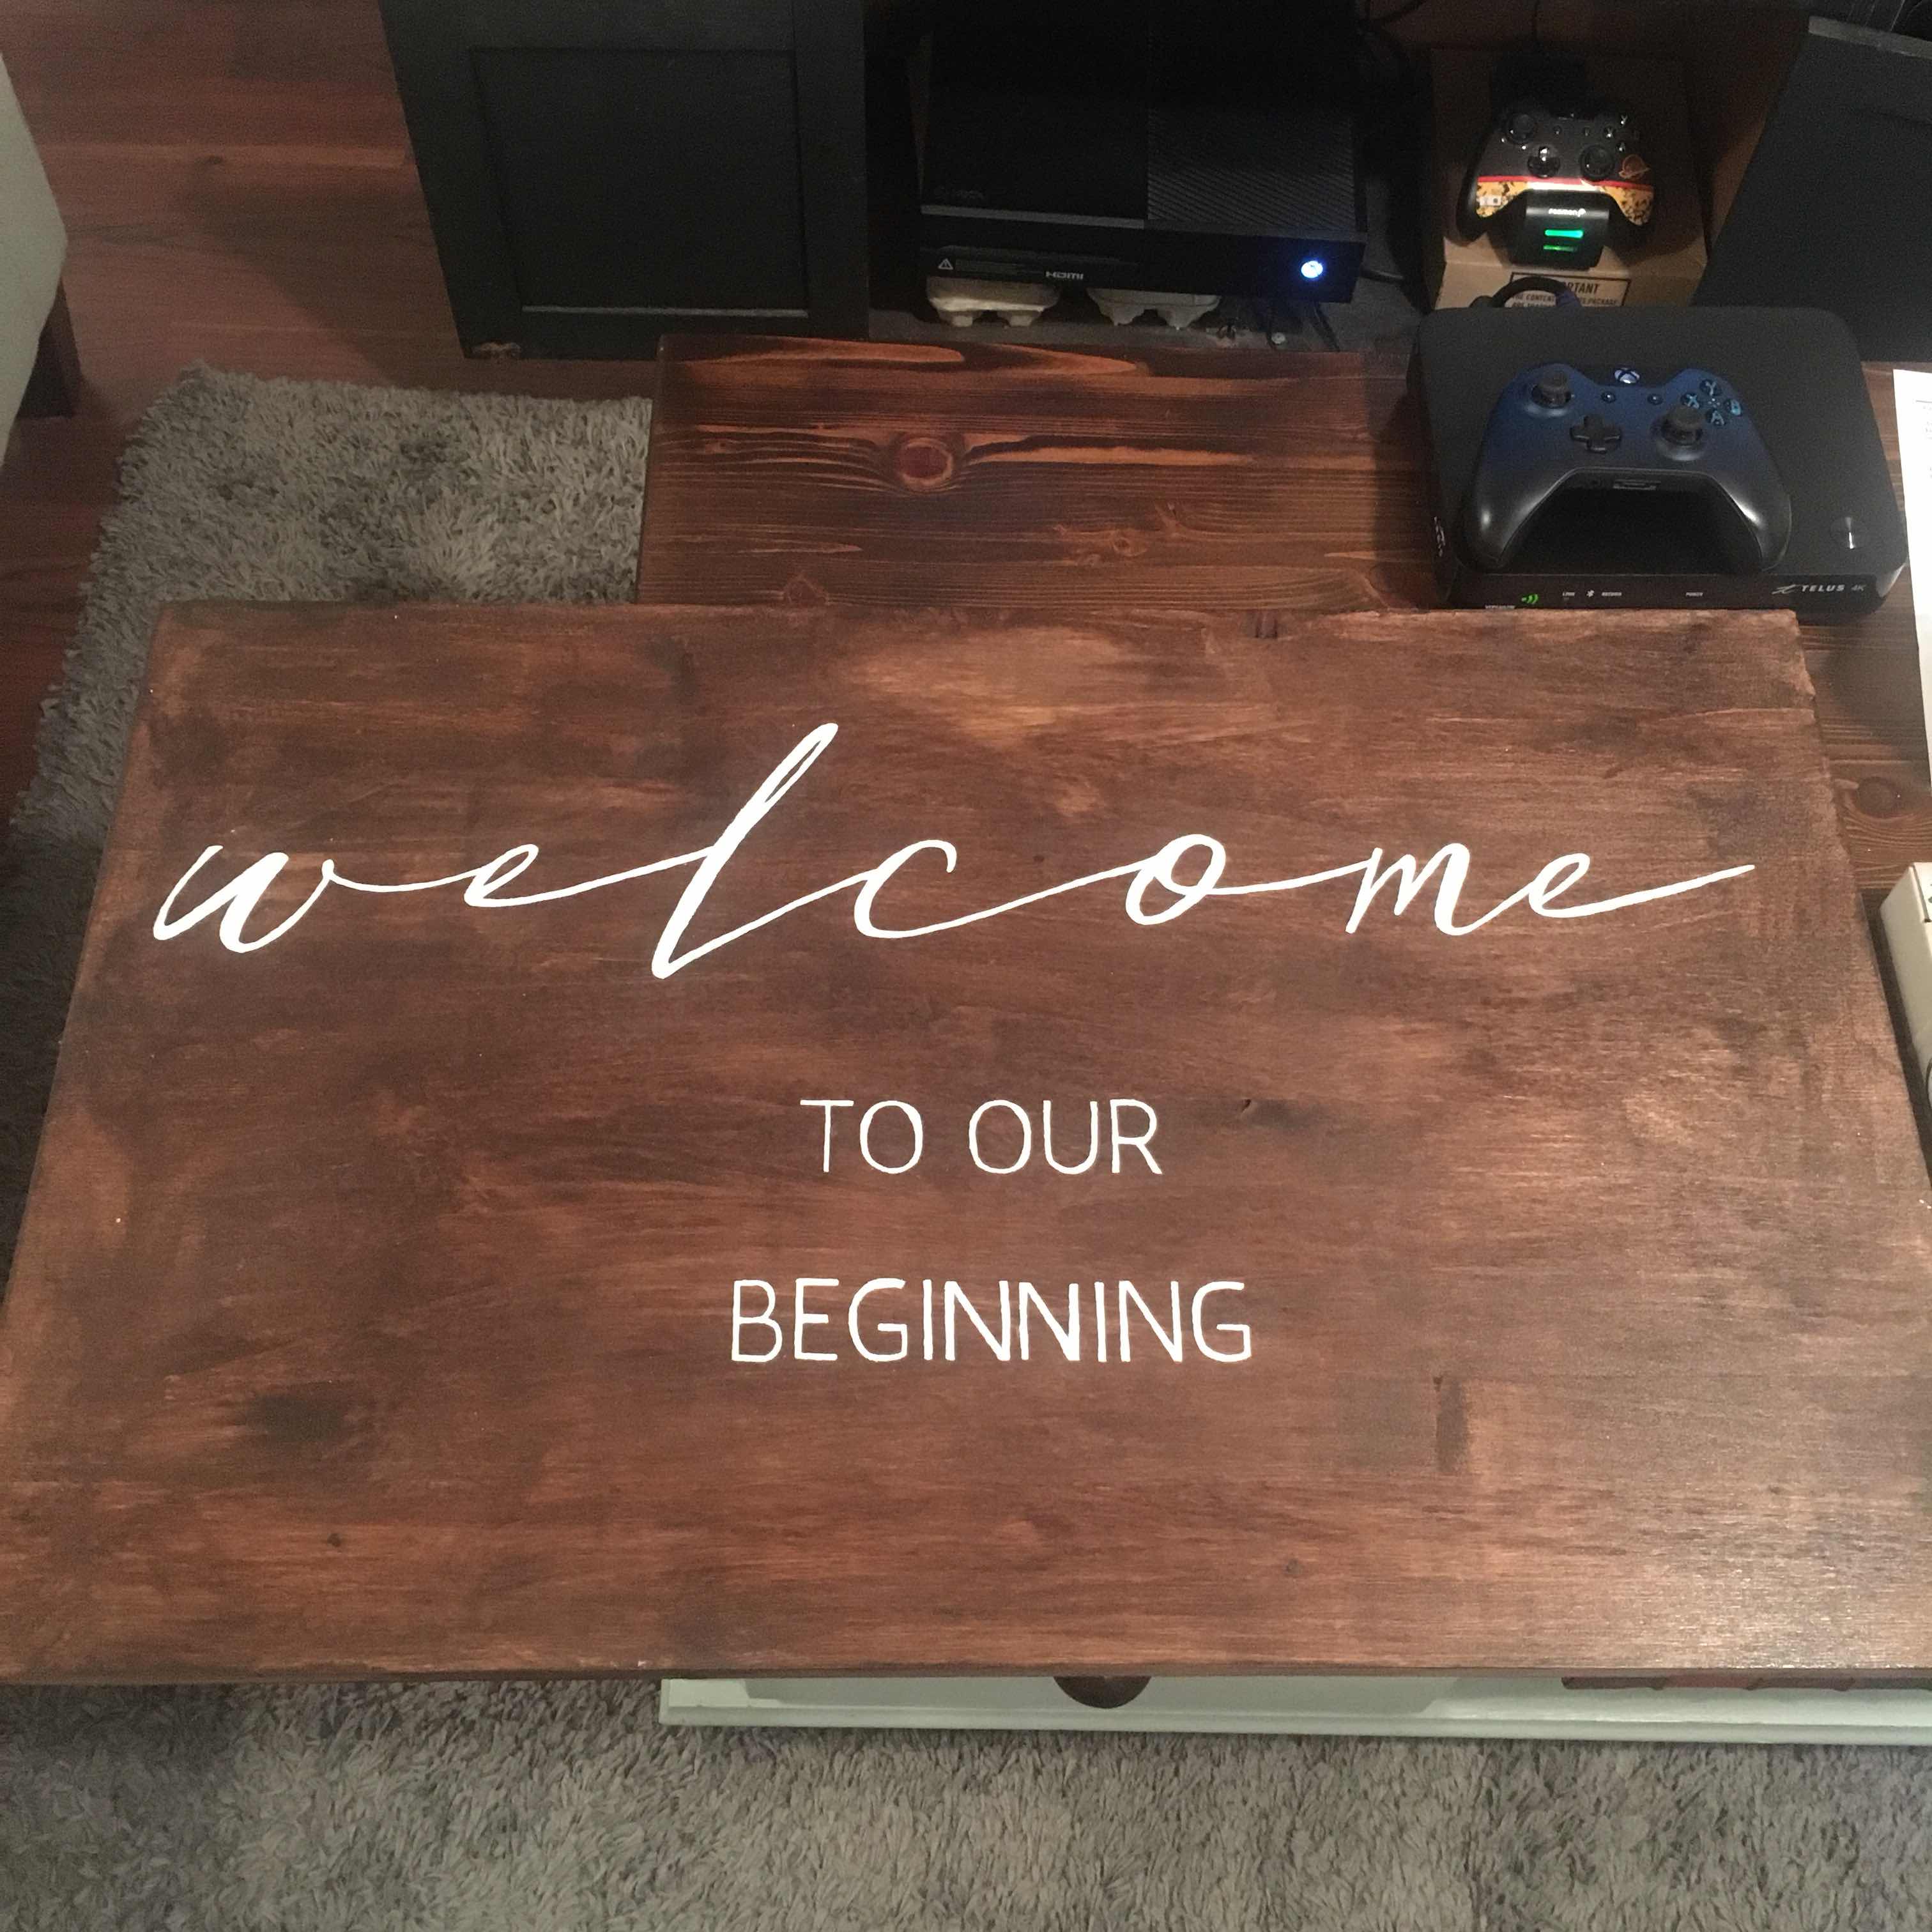
Sadly, the dark walnut stain I had on hand at the time was a bit too dark, the stencil just barely showed up, but it was still visible enough to look like a messy patch on the table. I sanded down that area and restrained it so that the stencil would no longer poke through. And then I painted the bottom half of the table with some lovely white chalk paint. 


Even though this project didn’t go as planned, it still turned out well! Once everything dried, I gave it all a nice wax to protect it and now it’s ready to go to someone new. ☺️


Sunday, August 5, 2018

60 Year Old Dresser Gets A Redo


 Hey everyone! My best friend recently asked if I’d be interested in refinishing a dresser that has been in her family for over 60 years! Of course I was thrilled to do the job! A few months ago, I had refinished an adorable nightstand for her, so we wanted to keep it in the same theme to match her furniture, the dresser was going to have a Parisian vintage look. 


After a bit of debating, we decided I’d use a white chalk paint for the whole dresser, but I’d use grey on the top. 


Wow, what a difference a simple cost of paint can make! It ended up taking quite a few coats of paint, not too uncommon for older furniture. 


And of course, I had to include a picture of her adorable cat, Felix, who was our painting buddy- he was so intrigued by the whole process! 


We spent a fair amount of time preparing and deciding what stencil to use for the dresser. We wanted to incorporate the same theme used on the nightstand so it would match nicely. 


And as a final touch, I painted some sprigs of lavender on each side, a nice little touch! 


After the stencils had dried, I did a coat of wax and then we added the final touch, some adorable knobs that really add to the femininity! 


Wow, the dresser and nightstand go so well together, such a cute look! 


Thursday, August 2, 2018

Handmade Wedding Sign

Hey everyone! Sorry it’s been awhile since my last post! It’s been a busy summer so far, and as with any summer, it’s also wedding season! My beautiful sister -in -law got married a couple of weeks ago and I had the honour of making a sign for her big day. I started off with a pine board that we cut down to the right size so it would fit on an easel. After sanding down the edges, it was ready for stain.


After staining both sides and letting the birds fully dry off for 24 hours, I began trying different font sizes for the lettering. Once I found the perfect fit and layout, it was time to rub the back of the paper with pencil, then I laid the paper down and traced the letters onto the wood. It left a perfect imprint of the letters for me to easily hand paint over.


After the lettering dried, I did some touch ups, filling in spots where they didn’t stand out enough.


Wow, to see this sign set up at the entrance for the wedding was such an honour, I’m so happy with how clear the letters turned out, and how elegant it looked! 


It was such a beautiful ceremony, a beautiful couple and a beautiful day!