Hey Everyone, I hope you're all doing well! Today's post is about a hope chest I recently bought for all of $8.00! And it was already mostly sanded down too! (Bonus!) I'm completely obsessed with hope chests and since this one was so cheap, I thought it would make a fun project. After a bit of debate, I decided to stain it with Minwax's Red Mahogany. I have so much in my inventory right now, that I figured it would be smart to use what I already have. This project was so easy to do because the hard part, sanding, was already basically done for me! I left the inside the original colour and finish, a kind of pearly grey/pink, so I just went over the outside with my sander once.

I love the simple shape of the chest, nothing ornate, which is how I like it! I wasn't too sure where I wanted to put the chest, but I've now found a great spot for it in our living room, providing lots of storage.

After staining the lid, I was unsure about the colour. This photo doesn't do it justice, as there were a lot more red undertones. After it dried, it looked exactly how I desired!

Since some of the stain inevitably ended up on the inside of the chest, I ended up taking a rag with some paint thinner and it came off easily. This is because the inside was stained and had a protective clear coat on it, so the stain wasn't seeping into the wood.


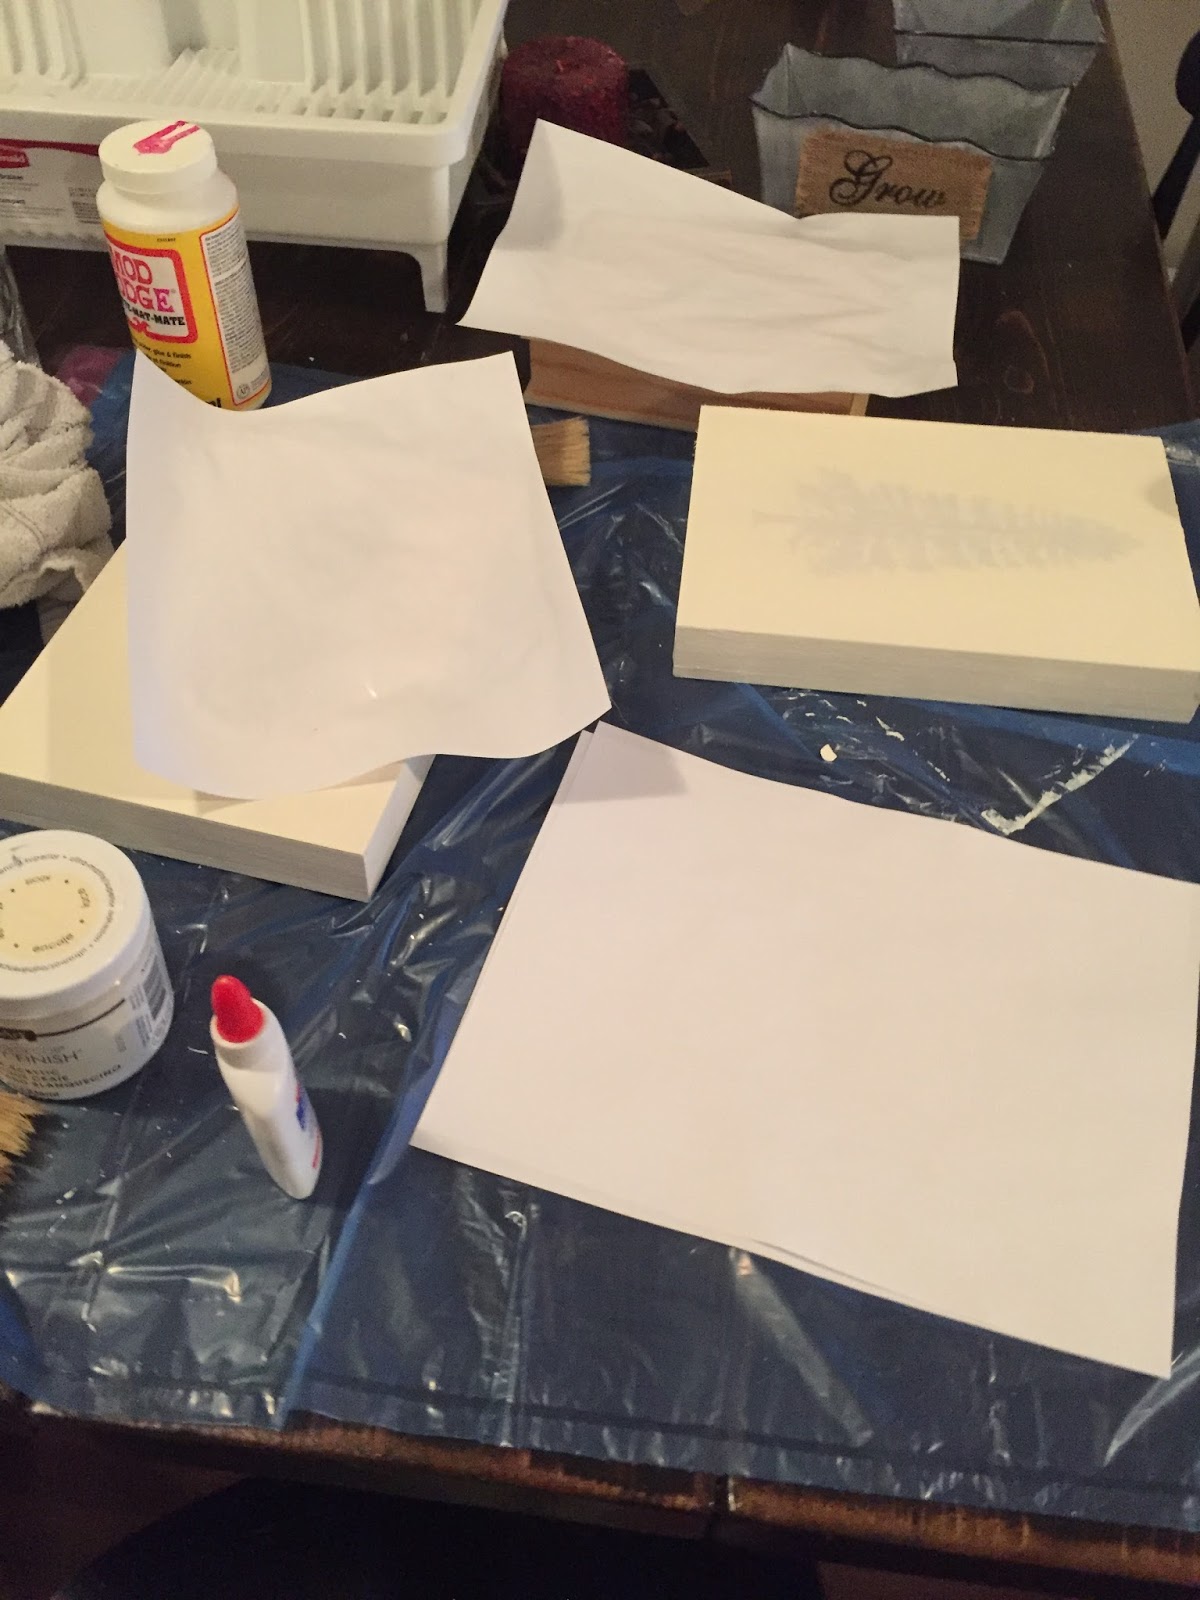
After the stain had cured, I decided I wanted to do an image transfer of a black and white forest onto the lid of the chest. I have done image transfers before but thought I'd try some new ways to see if there would be easier methods. The results were not what I hoped for! I first used Mod Podge and an inkjet printed image, which ended up smearing the ink.
It turned out okay, looking like an old photograph, but lots of the image was missing.

For my next attempt, I tried using another inkjet image along with Elmer's glue and Mod Podge. The results were even worse than my first attempt!


Finally, I tried using a laser printed image and Mod Podge, first with an image on the underside of the lid. I wasn't too happy with how much of the image was missing. I decided to try again with the forest image on the lid, this time waiting a full 24 hours for it to dry. I was much happier with the results.

Finally, a much better image! Next time, I will probably purchase more image transfer medium because I know that it's a tried and true method. I really wanted the grain of the wood to still show through this image, which did happen. :)


Tadaaaa! We put the hinges on and it looks perfect! Not bad for a project that costed me around $15 to do!


