Hey everyone! My best friend recently asked if I’d be interested in refinishing a dresser that has been in her family for over 60 years! Of course I was thrilled to do the job! A few months ago, I had refinished an adorable nightstand for her, so we wanted to keep it in the same theme to match her furniture, the dresser was going to have a Parisian vintage look.

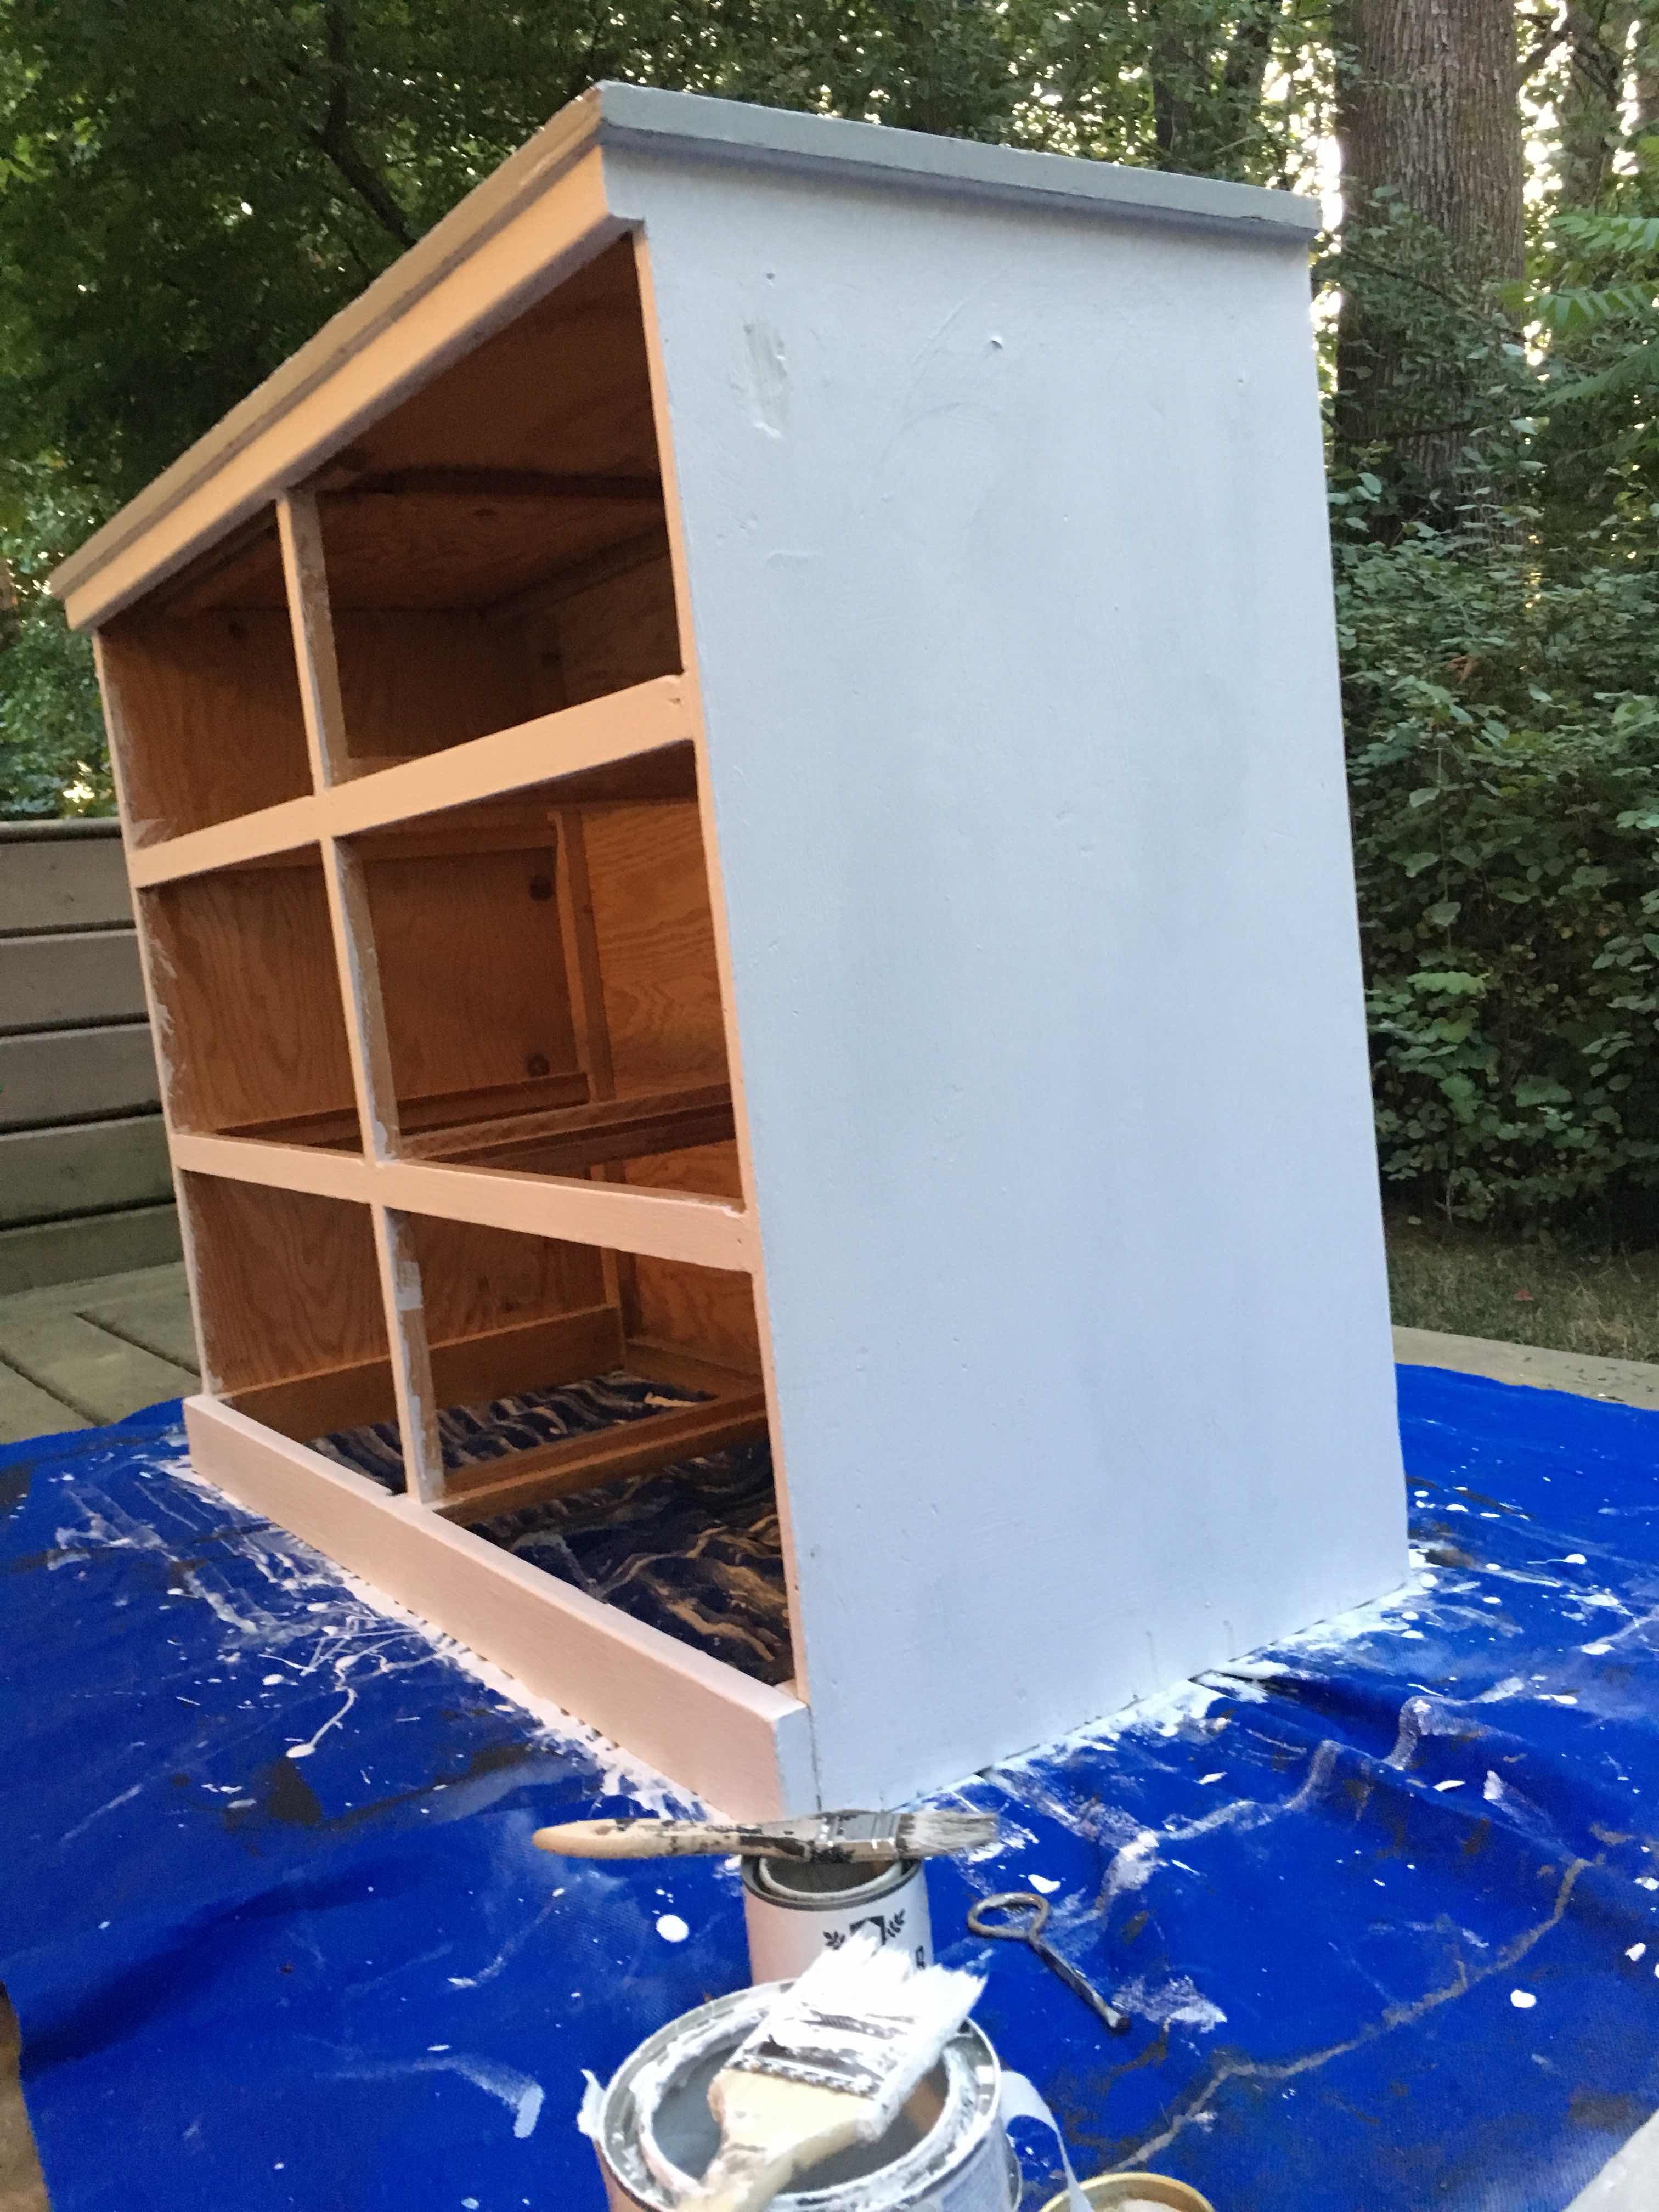
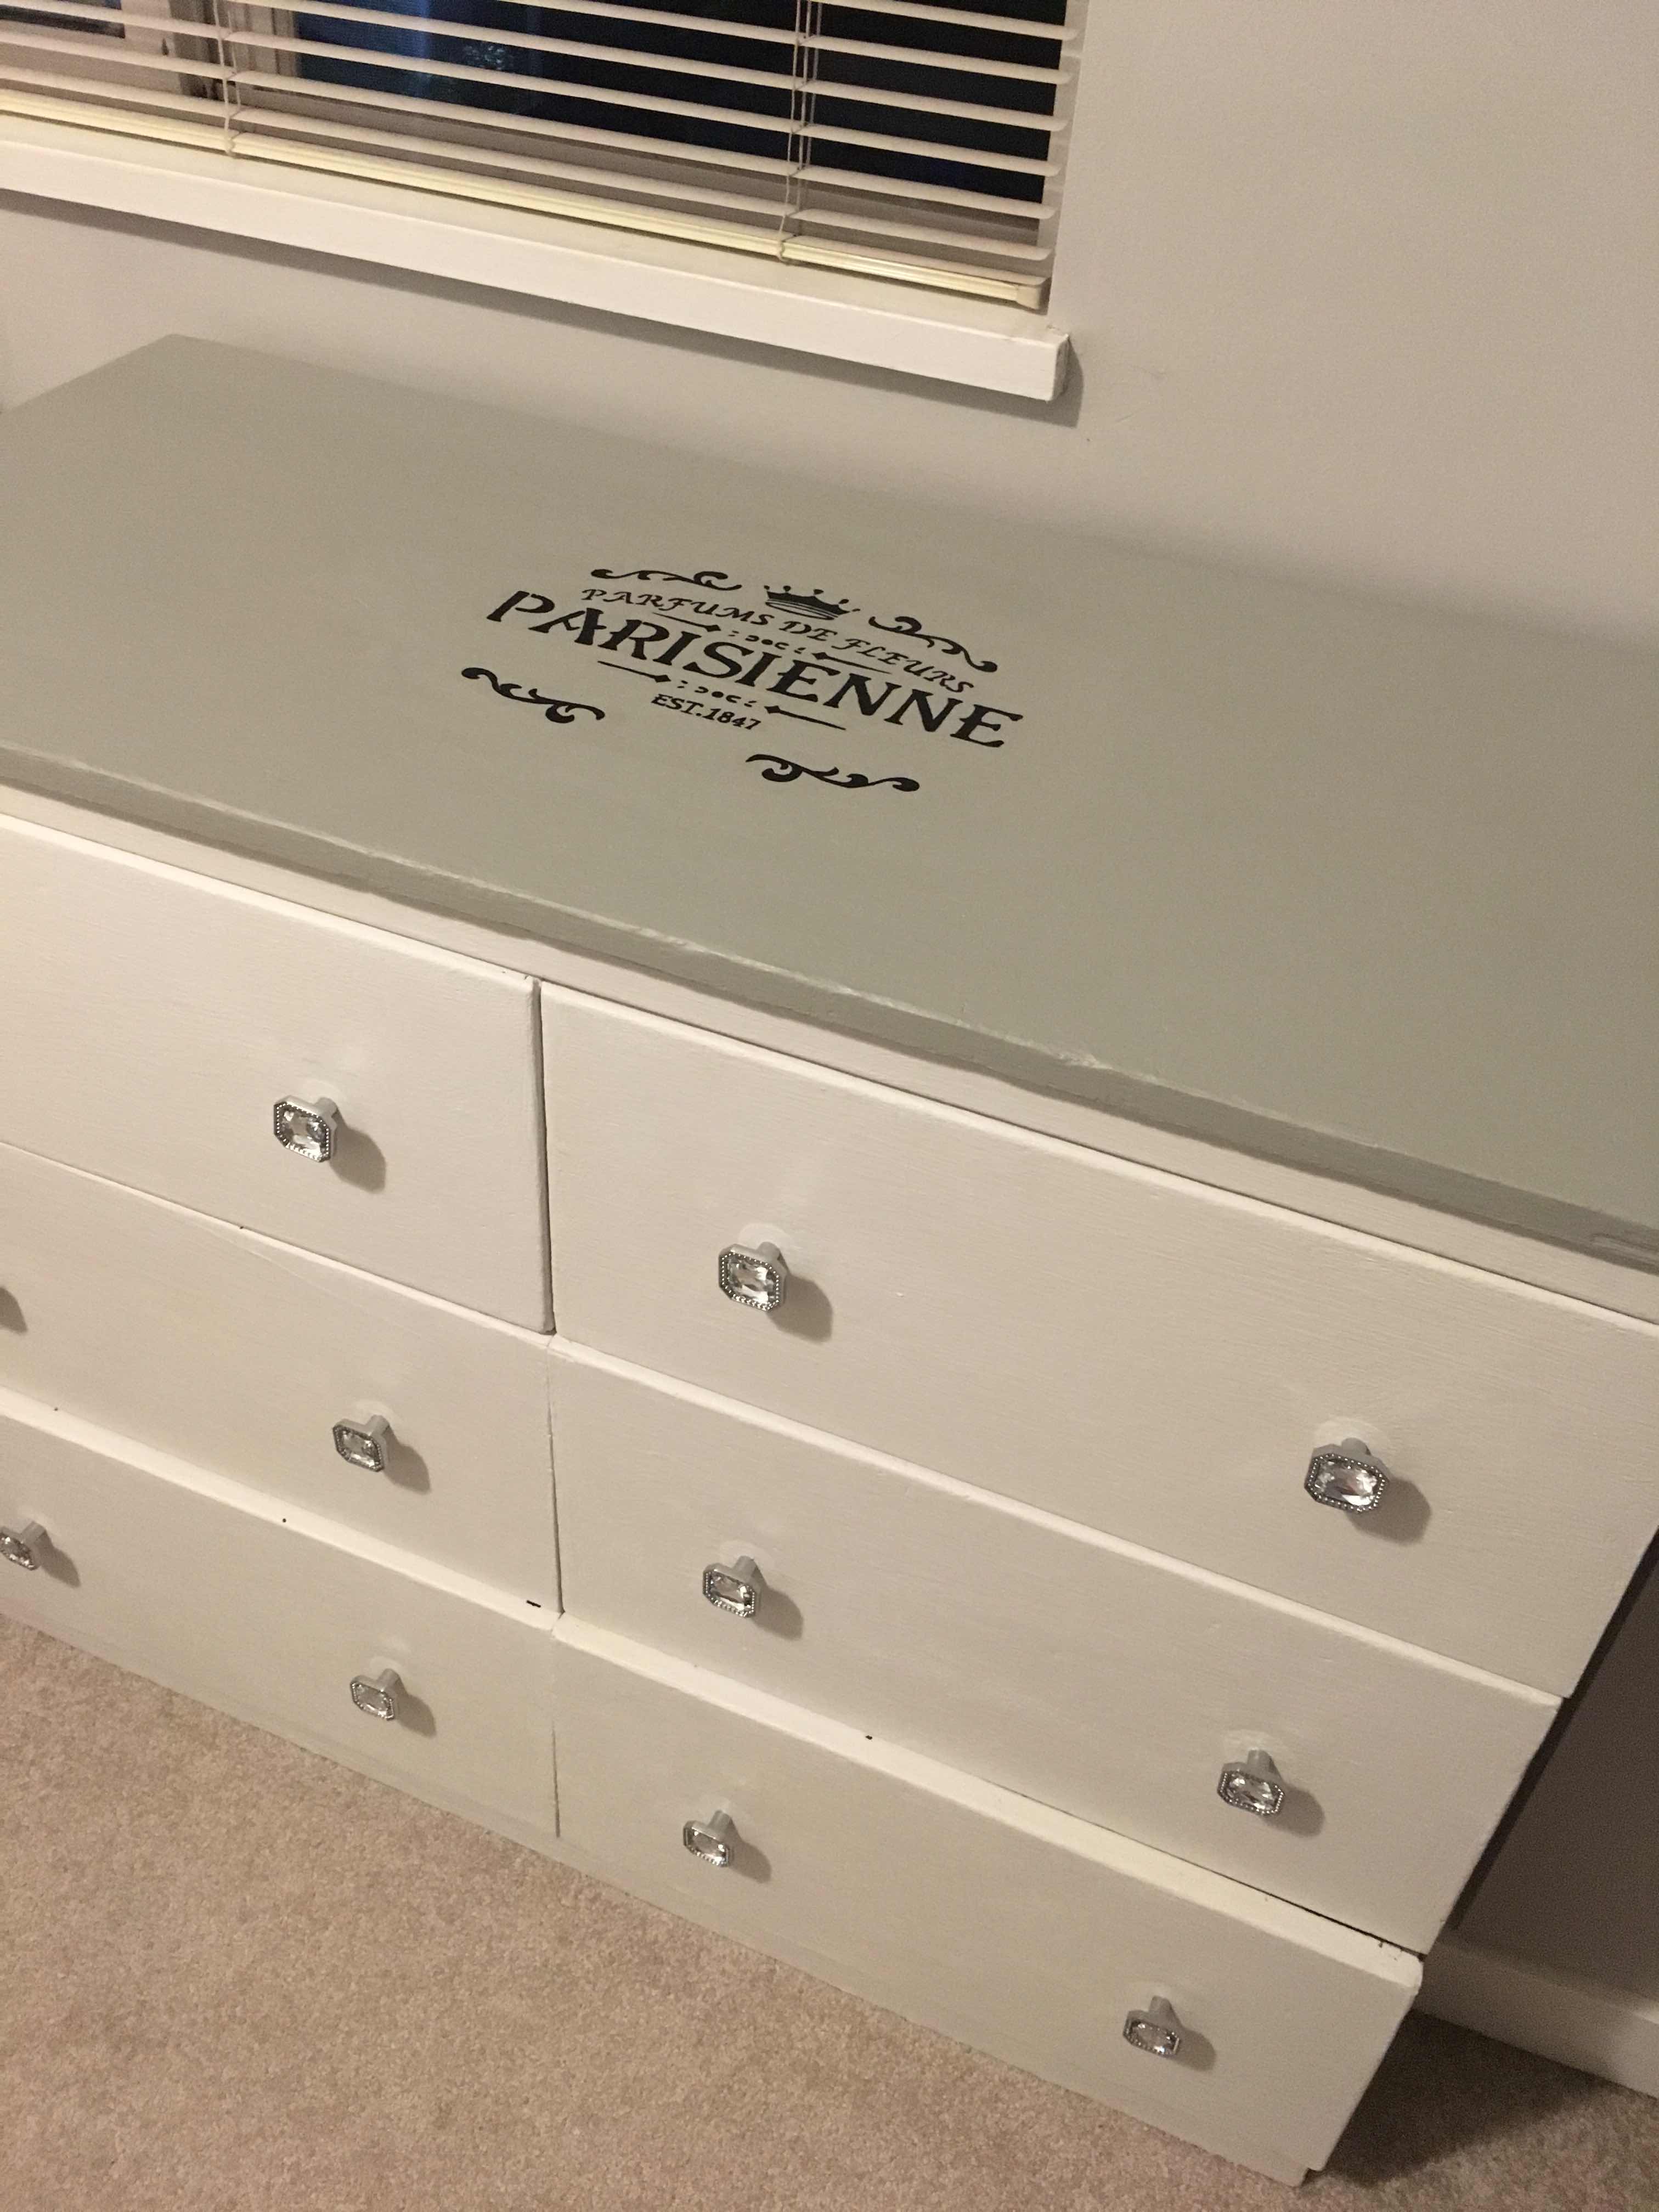
After a bit of debating, we decided I’d use a white chalk paint for the whole dresser, but I’d use grey on the top.


Wow, what a difference a simple cost of paint can make! It ended up taking quite a few coats of paint, not too uncommon for older furniture.


And of course, I had to include a picture of her adorable cat, Felix, who was our painting buddy- he was so intrigued by the whole process!


We spent a fair amount of time preparing and deciding what stencil to use for the dresser. We wanted to incorporate the same theme used on the nightstand so it would match nicely.


And as a final touch, I painted some sprigs of lavender on each side, a nice little touch!

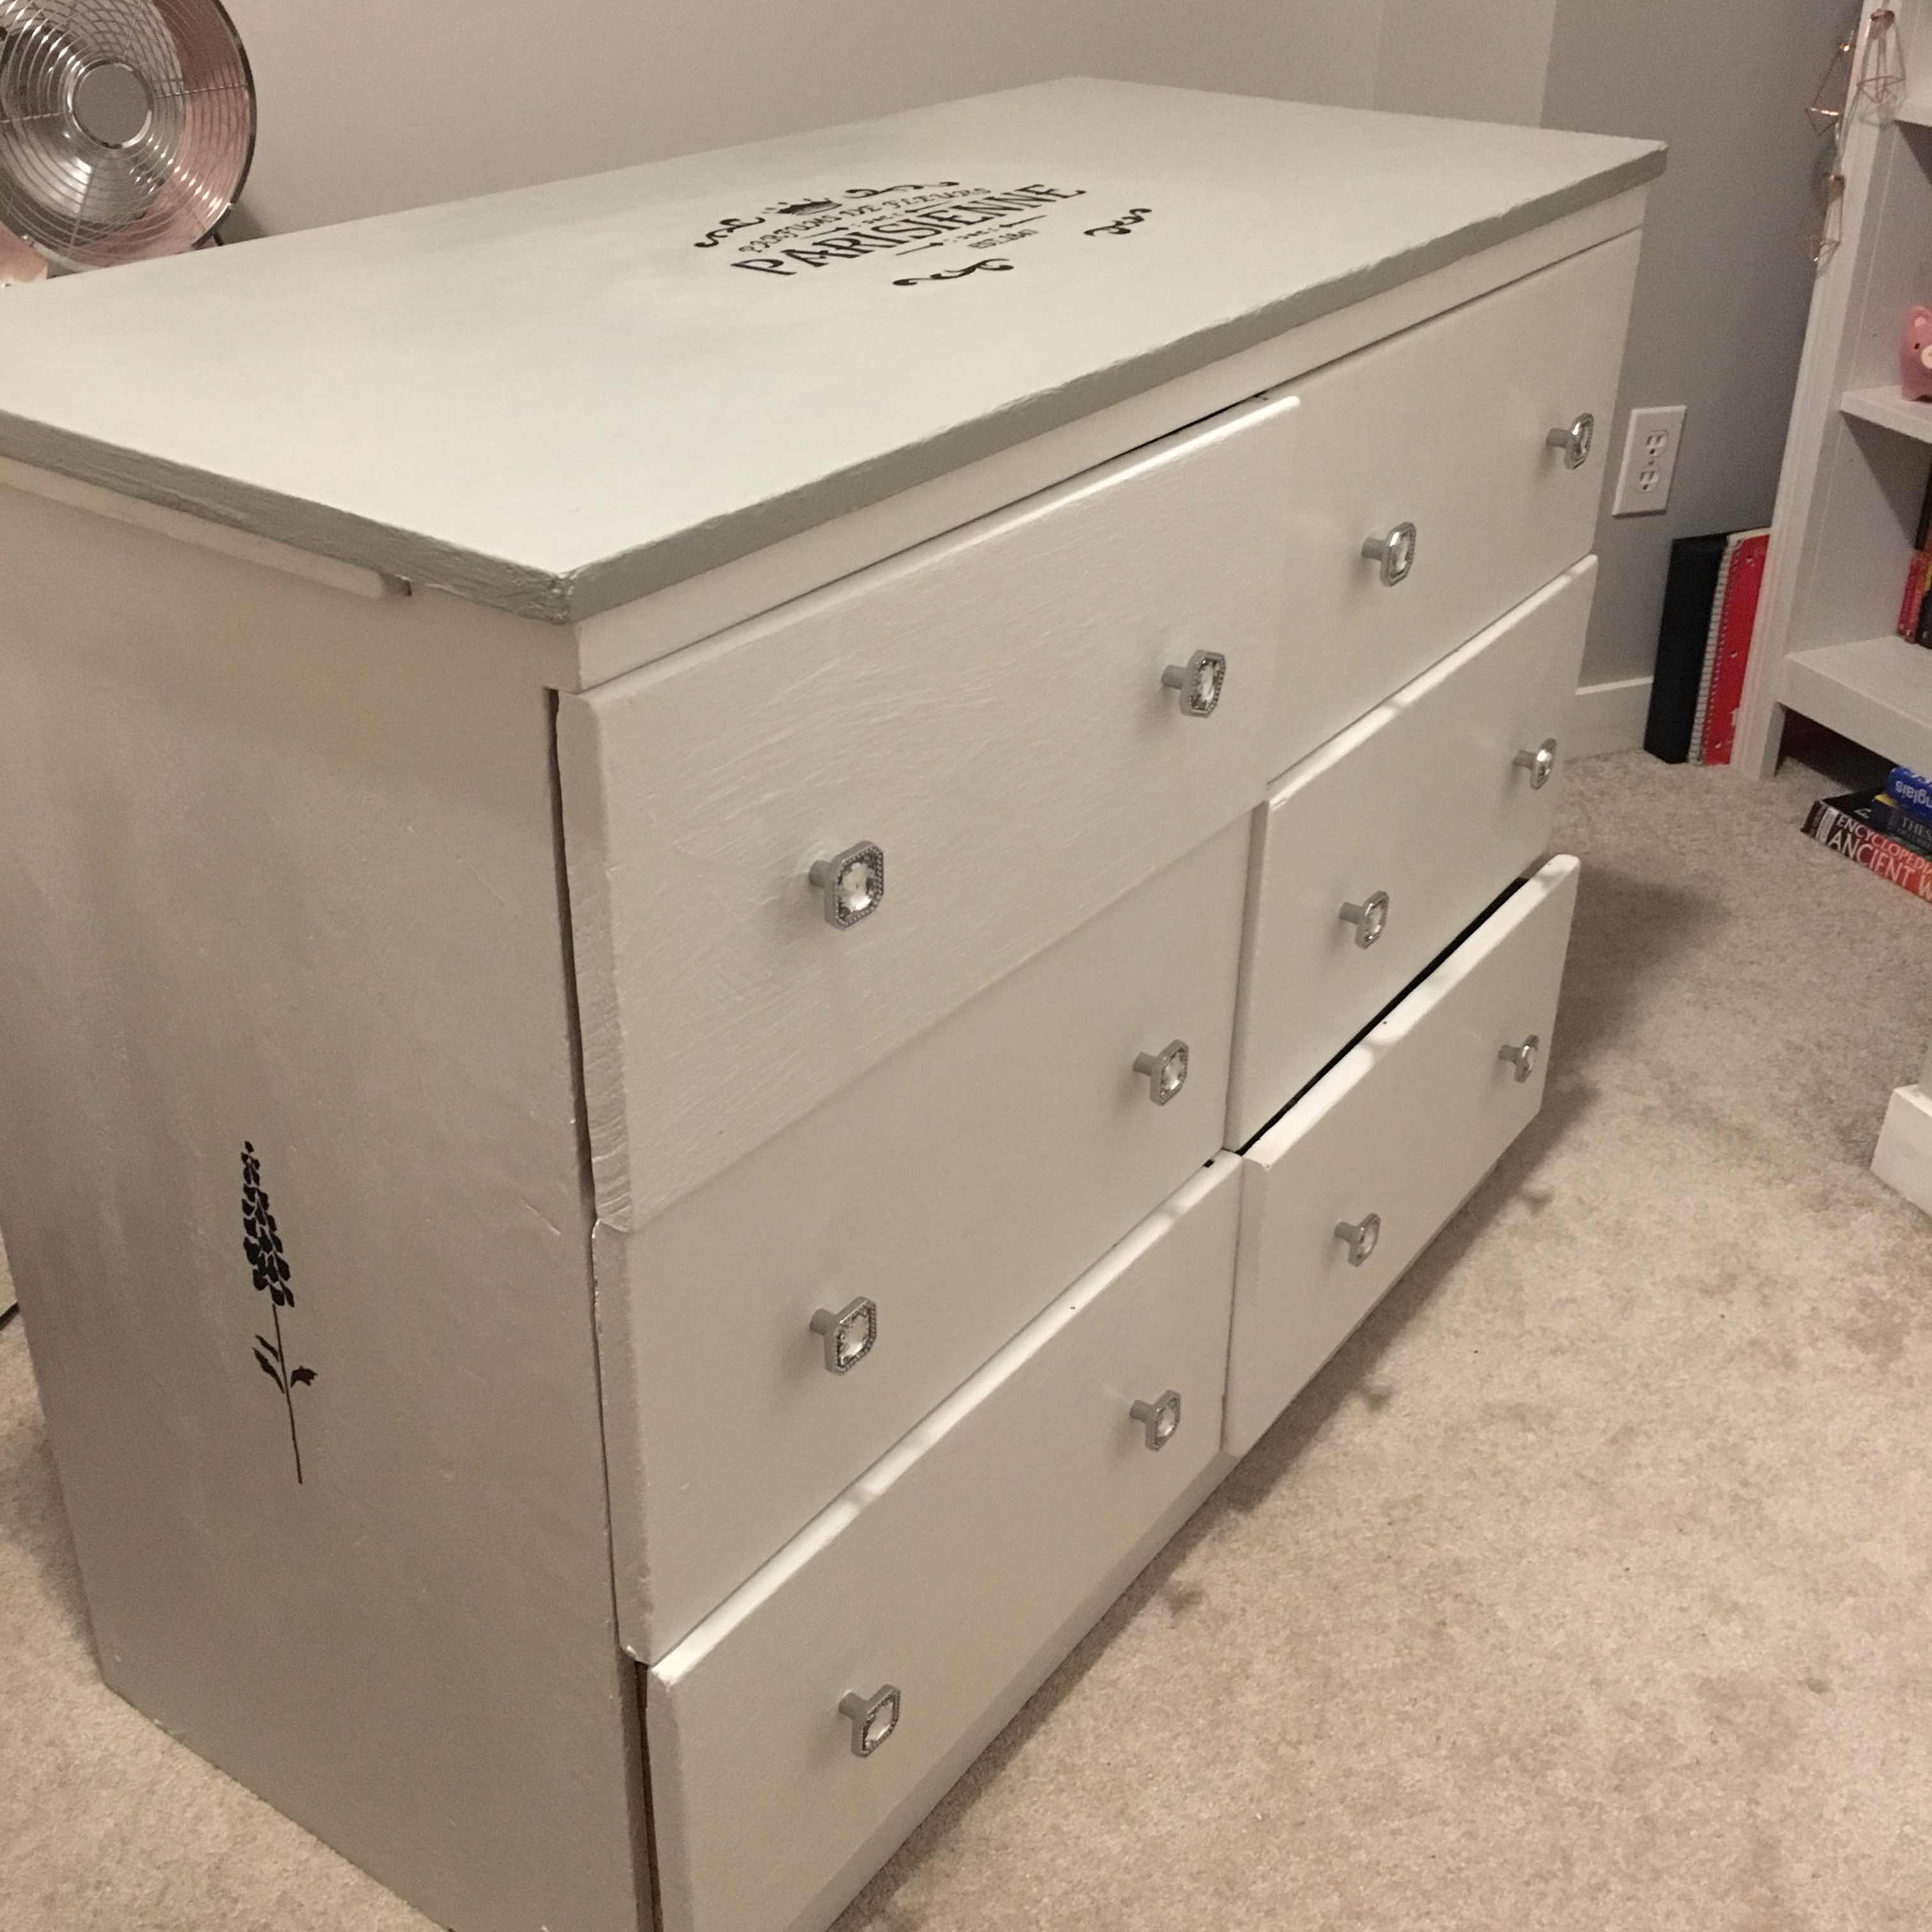


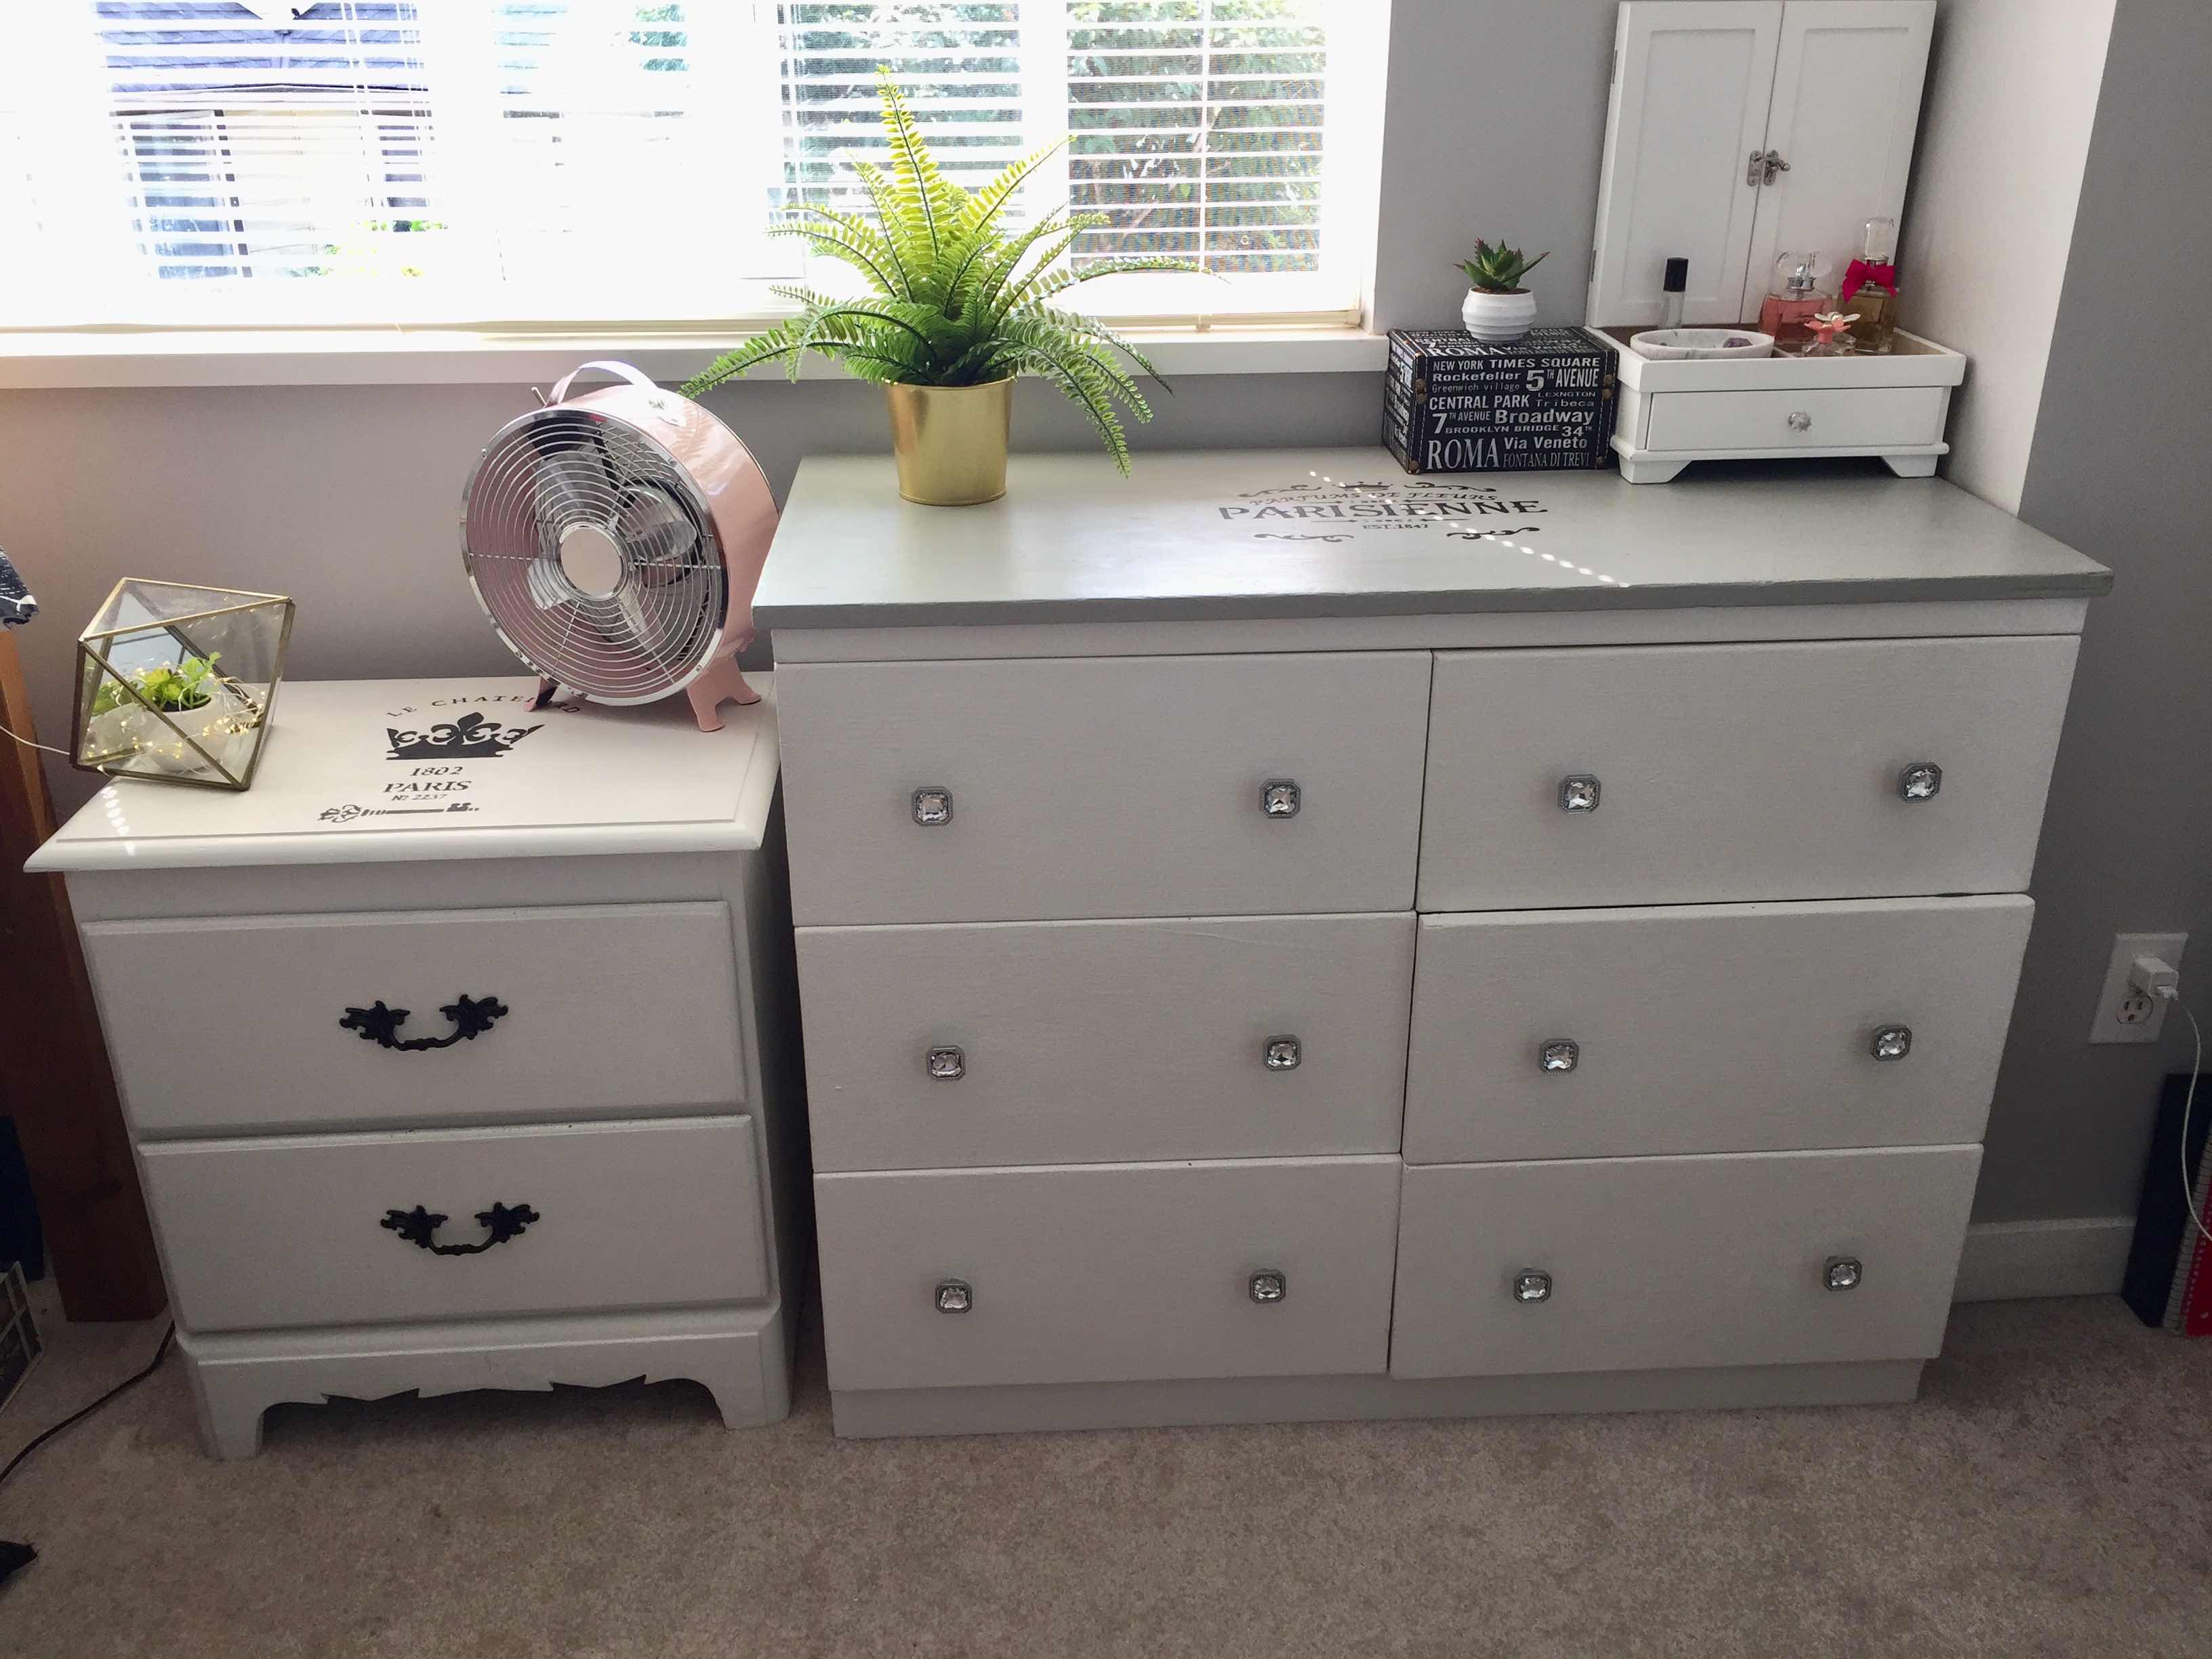
After the stencils had dried, I did a coat of wax and then we added the final touch, some adorable knobs that really add to the femininity!

Wow, the dresser and nightstand go so well together, such a cute look!