Wednesday, May 3, 2017

Another Stunning Farmhouse Table Makeover


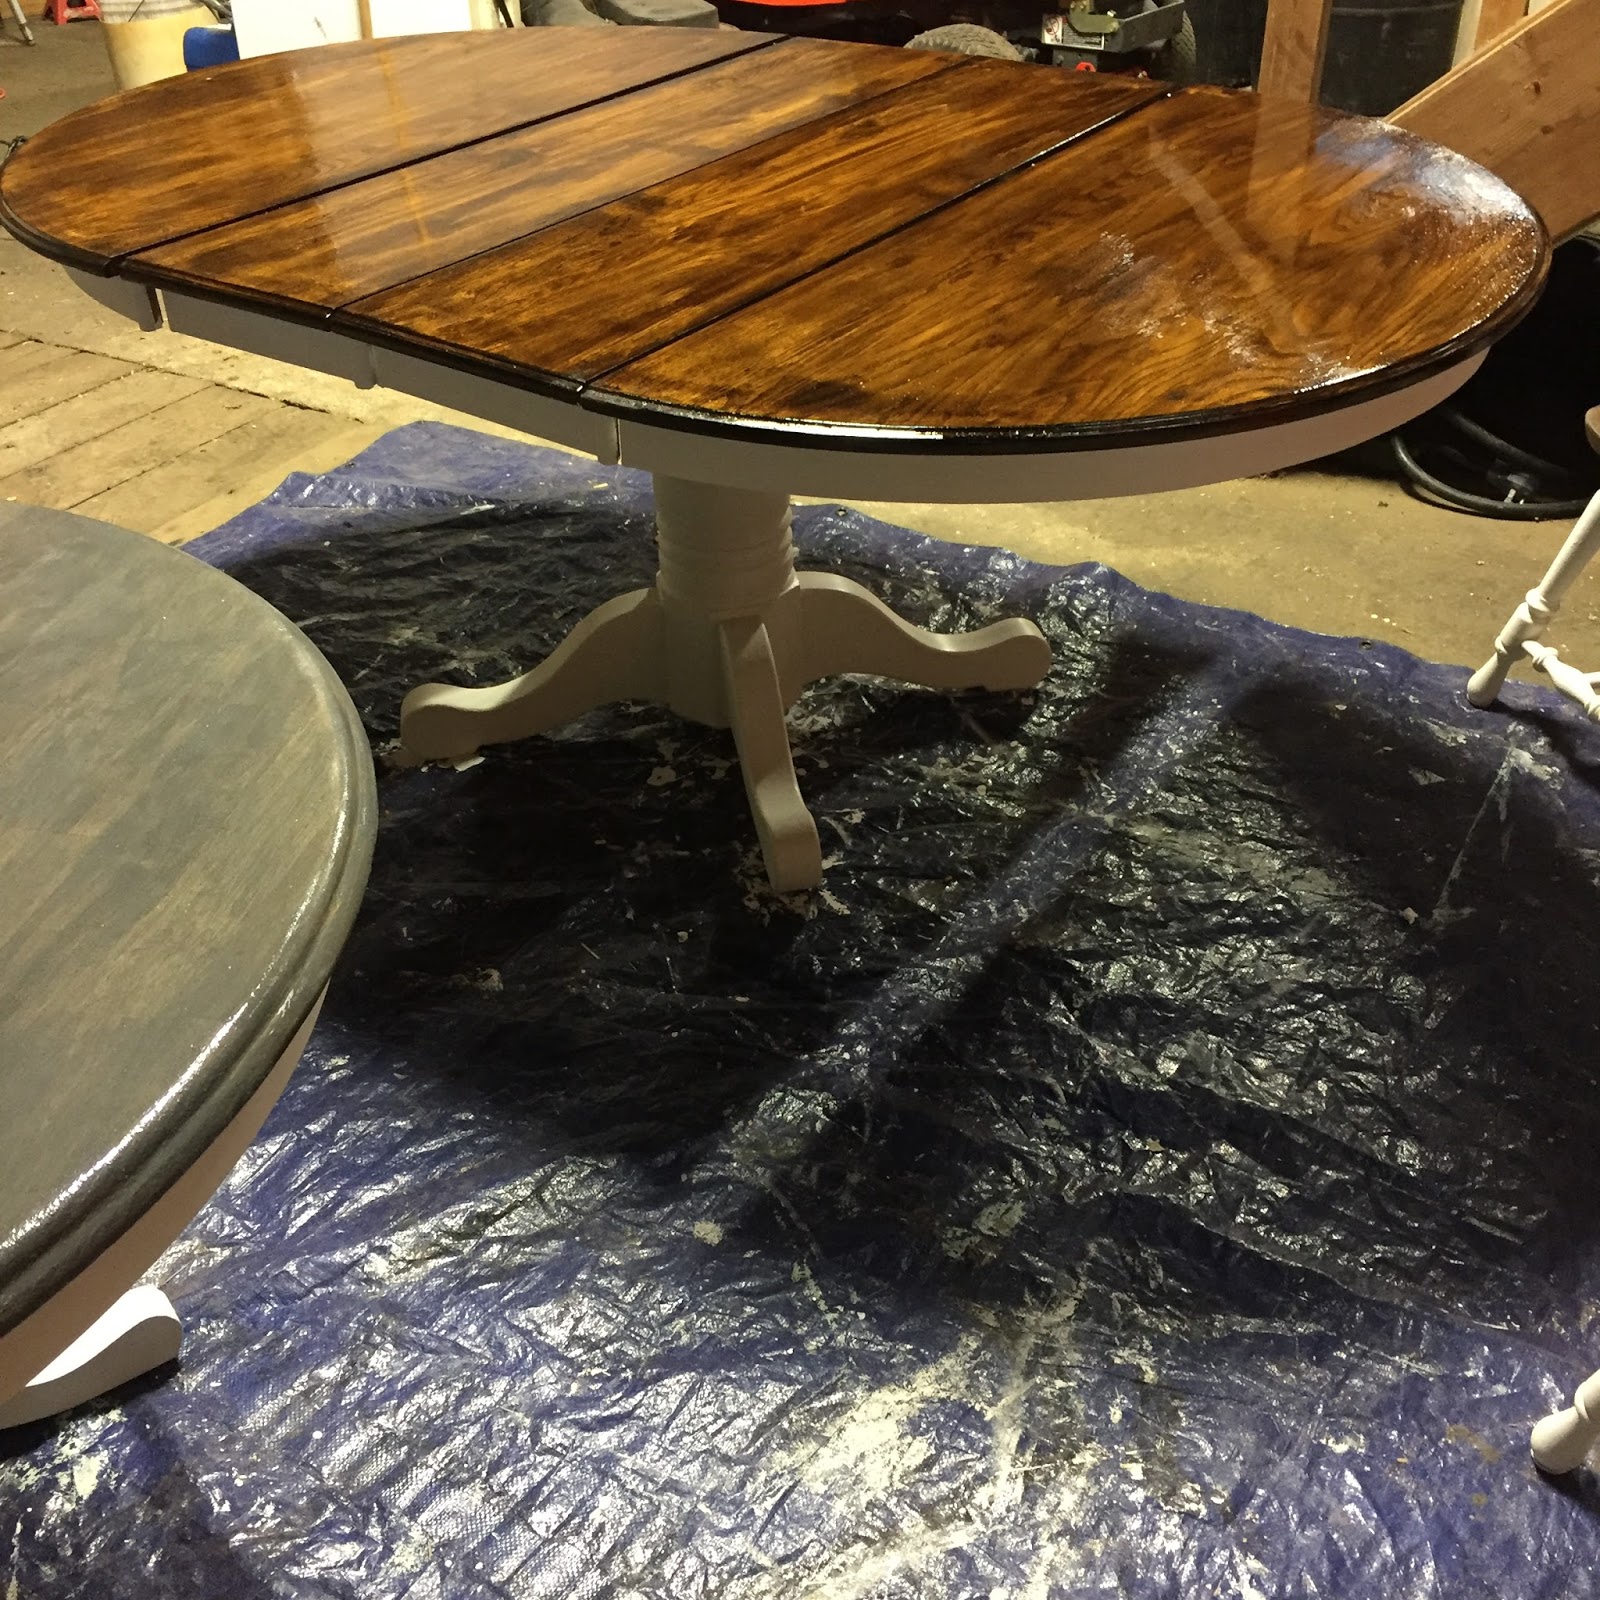
Hey Everyone! I can't wait to share this project with you! While I was refinishing the farmhouse table in my previous post, I was asked if I would be willing to also refinish this beautiful table set for our family friend's son and his wife. The wood on this table set is fantastic, solid and is of amazing quality. We agreed on Minwax's Dark Walnut as the stain for the table top and the chairs, and then used Rustoleum's White Linen Chalk Paint for the pedestal of the table and the rungs on the chairs. 


After sanding the table top down to the bare wood, I applied the first coat of Dark Walnut Stain. Oak is a very strong wood, which can make it a bit tricky when it comes to absorption, so after a few coats, we decided to try adding a coat of Minwax's Jacobean on top. This gave the table top a beautiful, classic look. 


As you can see, the table top was a bit lighter than hoped for. 


With a coat of Jacobean applied on top of the Dark Walnut, the table looks amazing! After the stain had dried, I applied a clear Polyurethane on top for protection. This will protect the wood from hot plates and spilled drinks. 


Painting the bottom of the table and the rungs on the chairs really transformed this project. Rustoleum's White Linen Chalk Paint is fantastic, it's very adhesive and provides a perfect matte finish. 


On the seats of the chairs, I used two coats of Varathane. This will protect them from wear and tear. As for the paint, I used Minwax's Refinishing Wax, it provides excellent protection while keeping the paint true to it's colour and texture. After this project was finished, I went a little crazy with the photos, I just couldn't get enough! This was a great project, it was really satisfying seeing it all come together! 


Tuesday, April 25, 2017

Refinishing a Farmhouse Table


Hey everyone! I'm so excited to share this latest project! A family friend contacted me recently to see if I'd be able to refinish her son's kitchen table. It needed an update and when they told me the look he wanted, I was so excited! This table is the perfect size, at first, I didn't realize that it also has a unique way of storing the leaf underneath it. After some deliberation, they decided to go with Minwax's Classic Grey wood stain for the top of the table, and for the bottom of the pedestal, we went with Rustoleum's White Linen Chalk Paint, the results are stunning! 


The leaf is folded under the table top as you can see in the photo below. 


After I finished sanding the table, the next step was to apply the stain. The photos below show that even though I sanded down to the bare wood, it wasn't absorbing the stain as hoped. It's a great example of what happens occasionally with harder wood, with the stain resting on the top instead of in the wood grain, it wasn't the result we hoped for. 


After some debating, I decided to resand and start again. This time, before applying the stain, I used a wood conditioner to help the wood absorb it evenly. This ended up making the stain absorb into the wood beautifully. 


What a difference! 


After the stain had dried, I applied a satin finished Polyurethane to protect it. This will protect the wood from spilled drinks to hot plates. Next, I applied two coats of the chalk paint to the base of the table. 


And for the final step, I applied a wax finish to the base of the table to protect the finish. 


This kitchen table has undergone a wonderful transformation! I've got two new techniques I'm going to use from now on, with the conditioner and wax, and this will be a great centrepiece for their kitchen. :)