Saturday, July 16, 2016

Updating A Chest Of Drawers


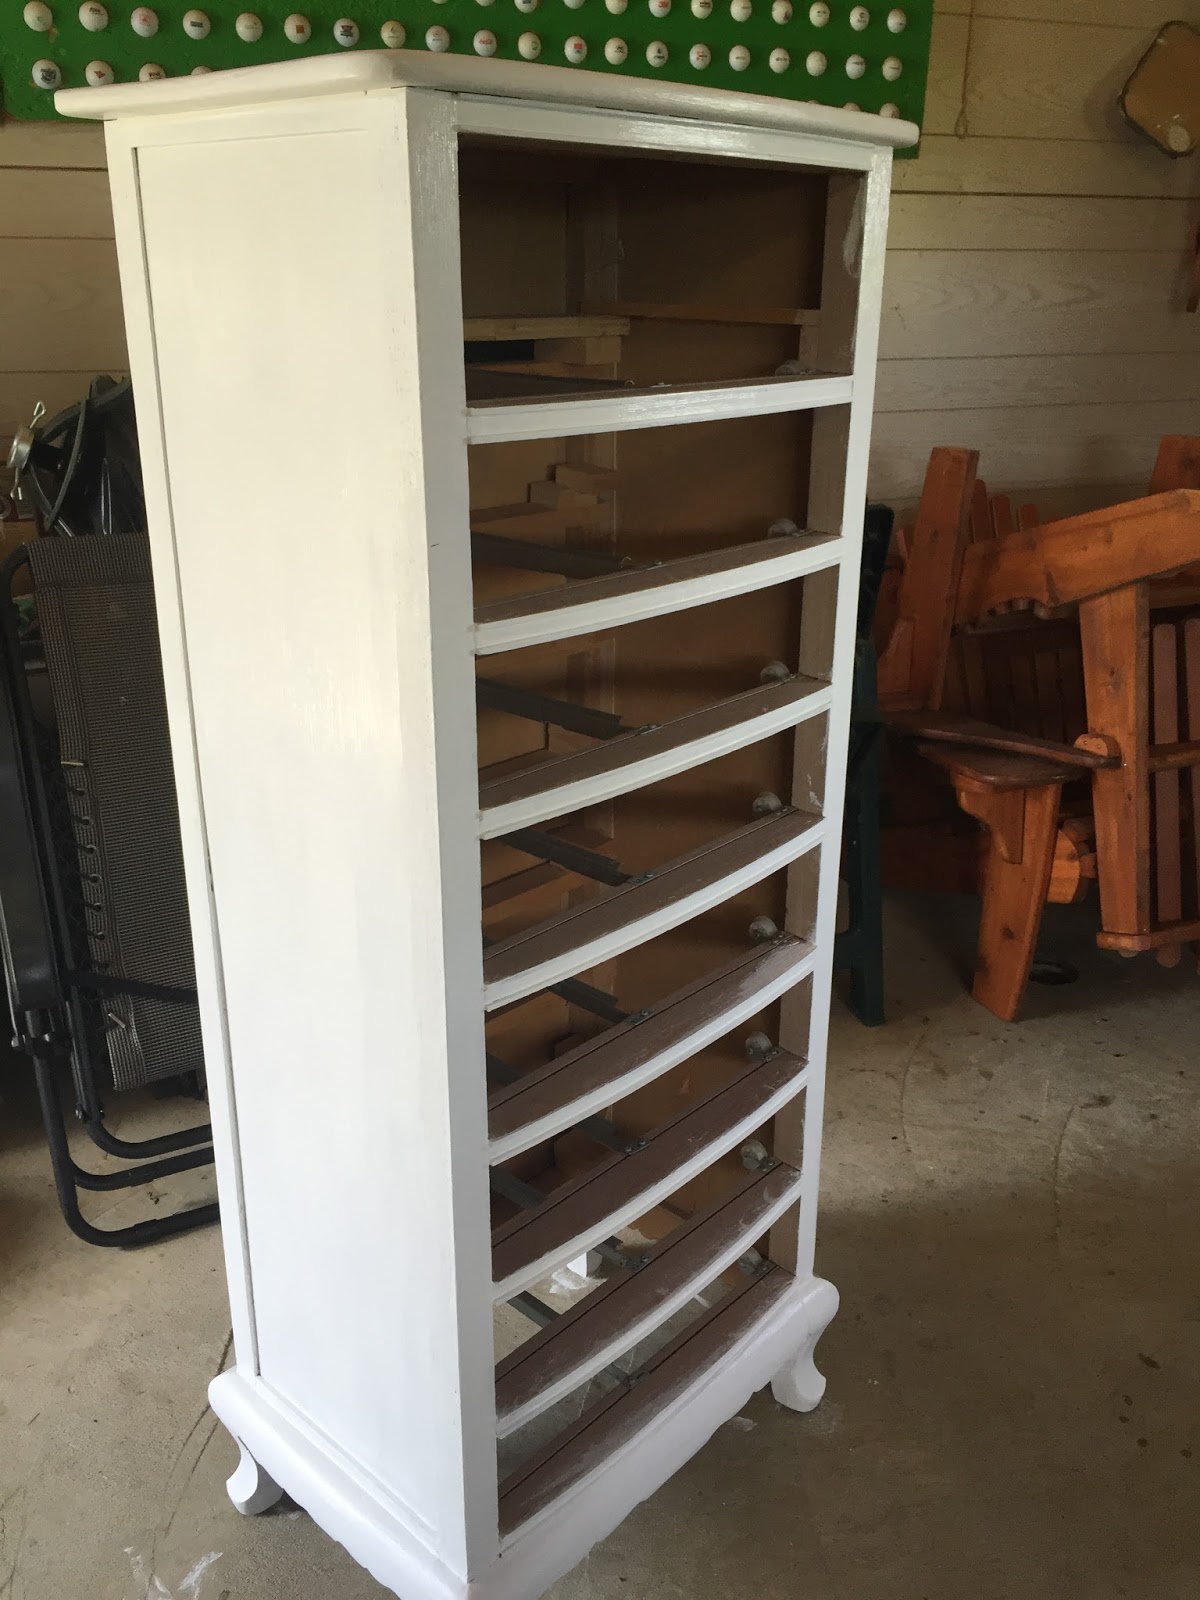
Hey, Everyone! I recently was asked by a client to refinish a gorgeous chest of drawers. It was built by her godson so it also has a lot of sentimental value. I'm tempted to see if he can build me one too! This chest has a lot of character, my client wanted me to paint it solid white and to refinish those brassy knobs. The photos don't show it too well, but the previous stain on it was a pinkish grey colour. Painting it white would give it an update but also help it tie in with the rest of their room's furniture. 


After settling on a shade of white, we chose Cotton by Spruce Collective. Their chalk paint is fantastic, it also eliminates the need for any sanding! I ended up doing two coats so that it's a solid white colour. 


It's always amazing what a change in colour can do! These knobs were a brassy gold colour. We decided I'd spray paint them a dark brown colour. It took a couple of coats to get them perfect. 


After everything had dried it was time to put it back together. This chest of drawers looks so classy! 


Wednesday, June 22, 2016


Hey Everyone! I am so excited to share with you another scrap pallet wood project! I've been getting a lot of inspiration on Pinterest to try some different techniques for making signs and I came across this blog post:http://realitydaydream.com/how-to-make-your-own-barn-boards-diy/. The idea of using  random paint colours and stain really appealed to me, I also wanted to have a beachy look! The process was pretty simple: After gluing the boards for the sign together, I painted each board a different colour, then mixed some of the paint colours on it, sanded it lightly after everything had dried and then rubbed some of Minwax's Provincial wood stain to show off the wood grain. 

Here's the wood before painting, I love how rustic the wood already was, so much character!


The process for painting the wood was very easy, you can basically just slap it on and try mixing colours, there's no wrong way to do it! I ended up using dark grey, navy blue, succulent (greenish) and off-white paint. 


After the paint dried, I roughly sanded the wood down so the grain would show through. Next, I took a cloth and rubbed the wood stain on top to make it stand out. I love Minwax's Provincial stain because it's not too dark and not too light. Once everything was dry, I chose some lyrics from Hillsong's Touch the Sky and cut out the stencils for the wording. I decided to use the off-white paint for the lettering so that it would stand out more than black. 


The following photos were taken by my dear friend, Sarah-Ann. She's so talented and really brings out the details in her photos! Thanks again, Annie! :) 


Don't forget to check us out on Facebook at: https://www.facebook.com/hollyshomestead/

Tuesday, June 21, 2016

DIY Coffee Sign


Hey, Everyone! I'm so excited to show you what I've made using scrap pallet wood! On Pinterest I've been seeing all kinds of inspiration for my coffee bar, one way to save more cupboard space is to make a sign with hooks to hang mugs. I happened to get inspired when I found some leftover cuts of pallet wood and made a small ladder. Why not use it to either hang up on the wall or lean it against the wall to hang all our coffee mugs? :) After arranging it as desired, I roughly sanded it down to get any splinters off and glued the pieces together.


After allowing the glue 24 hours to dry, I decided to try a different shade of stain. I went with Minwax's Provincial stain, a perfect red/brown shade that's not too dark and not too light. 


After the stain was dry, I cut out and arranged my letters for stencils and decided to paint the lettering white so that it would stand out against the stain. I also ordered some hooks online and made sure they were placed evenly apart. 


The following photos were taken by my amazing friend, Sarah-Ann. She's a talented photographer and has captured the details in my pieces way better than I ever could! Thanks again, Annie! :) 


This project turned out so much better than I had ever imagined! I never thought that scrap pallet wood could look so good, and have such a practical use too!

Feel free to "like" our Facebook page at: