Monday, December 21, 2015

Giving Old Chairs An Update:


Hey, Everyone! Remember the beautiful dining table I recently refinished? It needed one last step to make it complete! It seemed pretty odd to pair my updated table with out dated chairs! Since they are solid wood, it was very easy to refinish them! Using spray paint is a great option for projects like chairs because the paint can reach odd corners and areas that would normally take forever to paint by hand! I've hand painted chairs before and hated every minute of it! Thankfully, spray painting is much easier. :) 


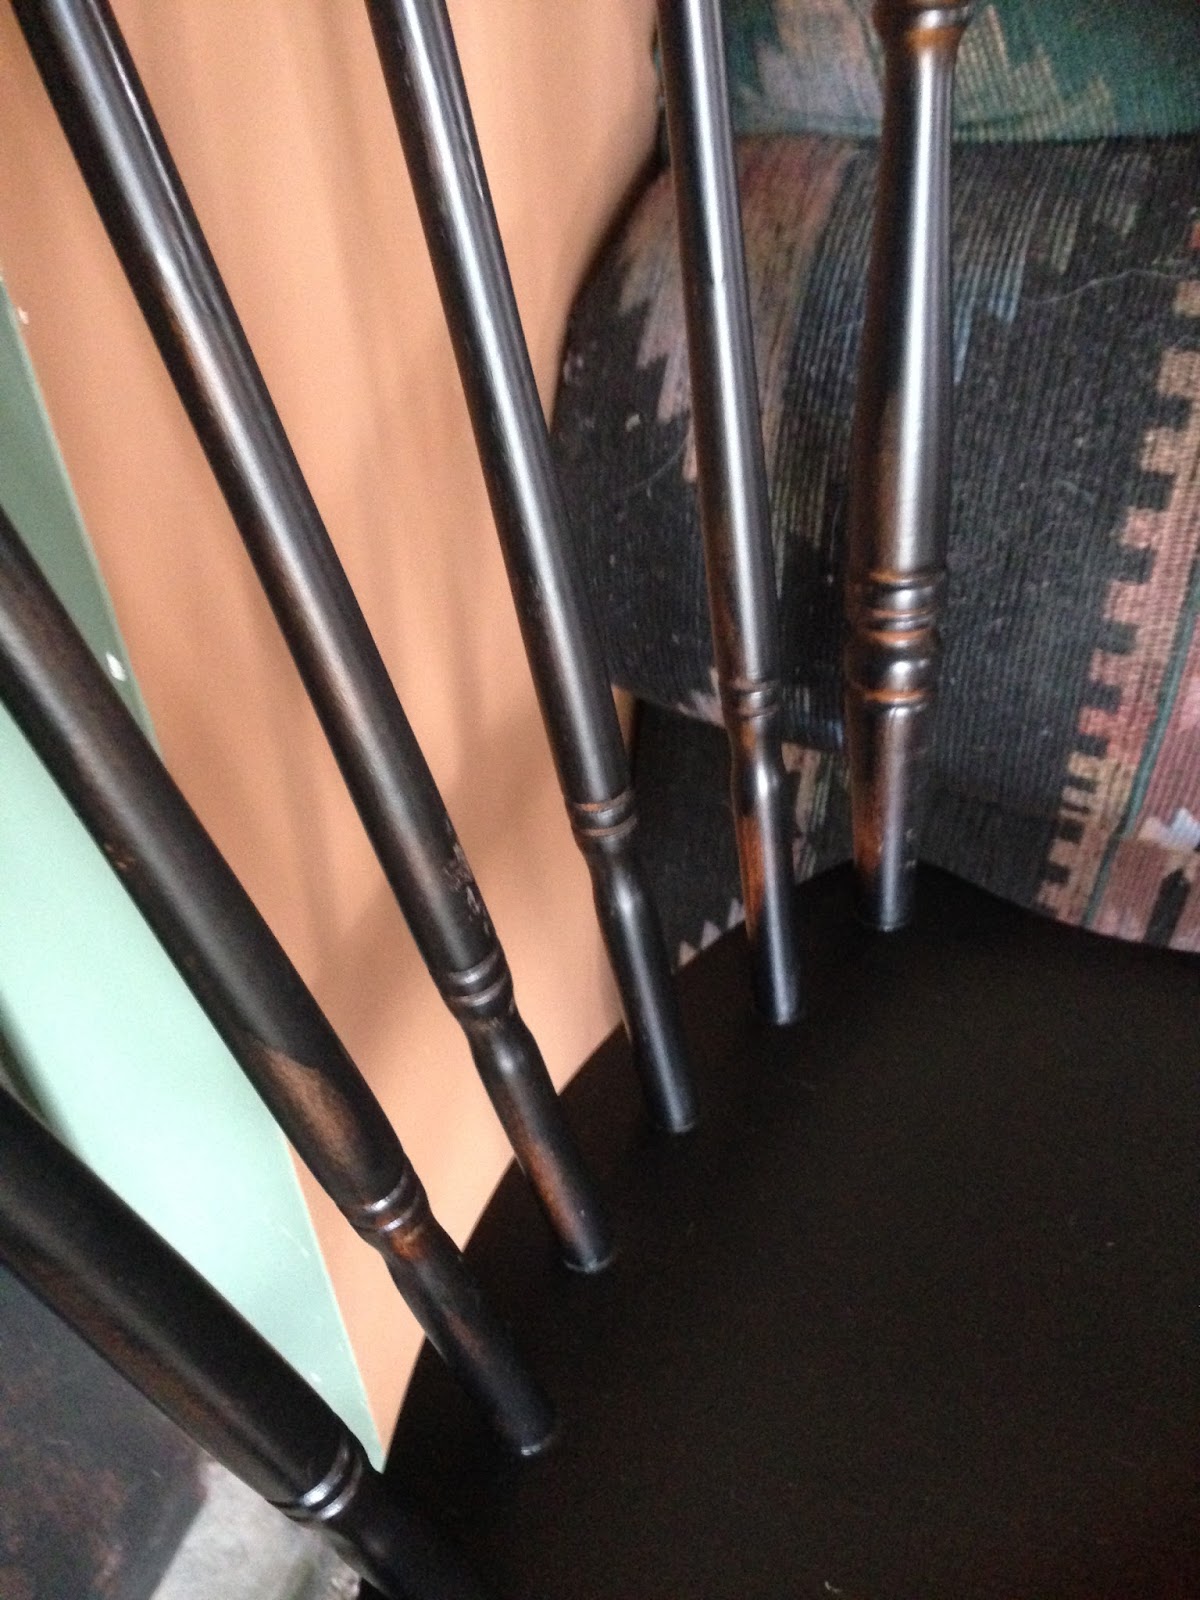
When spray painting chairs, it's important to make sure you flip the chair down so you can get the undersides and underneath where the back rest is too. People sometimes forget this step, and then realize later on that they missed parts of the chair. Below, is the first chair I spray painted. The paint turned out great, but was not as black as I had wanted. So after a quick run to the store, I got it right. 


Using Krylon spray paint in a flat black with primer built in, it saved me from having to do lots of coats on the chair and after it dried, I realized I really didn't need to put a clear coat over top either. This was such an easy project but it make the chairs look so classy and elegant! 


In the picture below, you can see that I left some areas of the red showing through the black paint. I did this on purpose to give it a distressed look. All of the chairs look amazing with a hint of the red showing through in areas! 


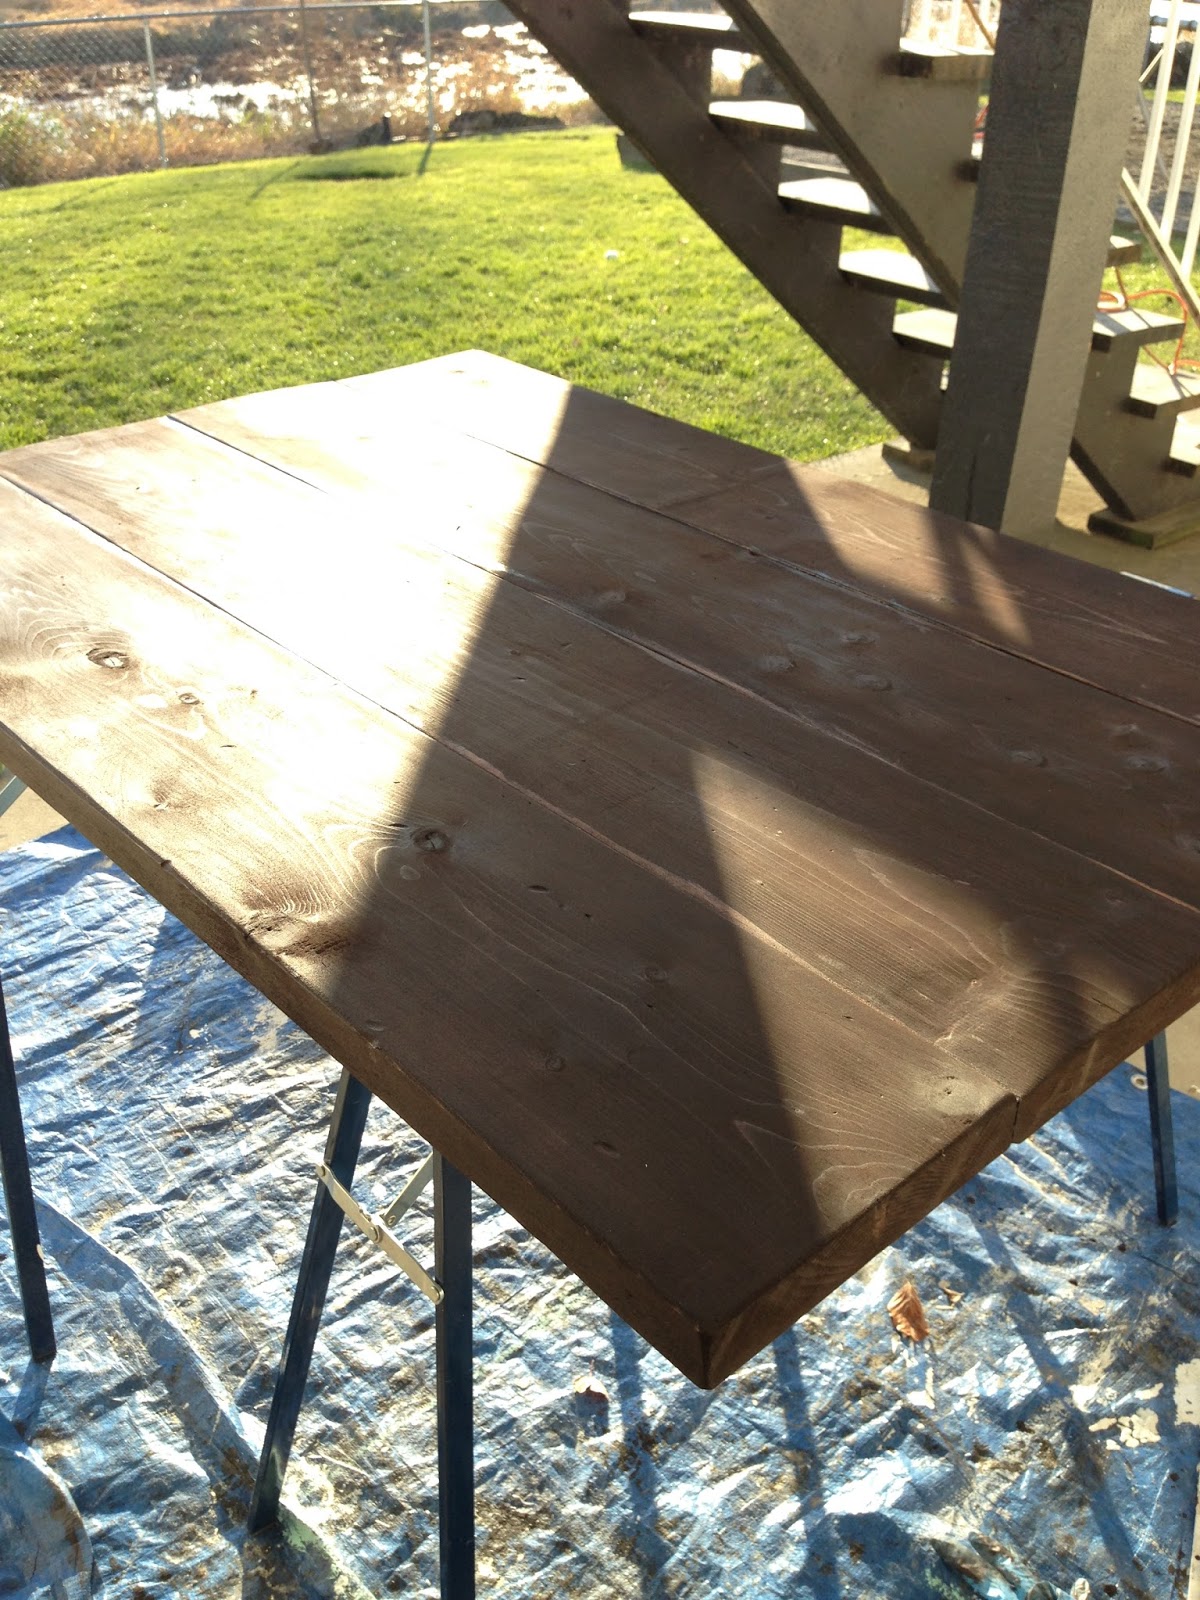
All set up with my table, they match so perfectly! This is such an inexpensive way to update your furniture and it will last for years! The black contrasts beautifully with the white legs on the table to really give an elegant farmhouse feel. :) 


Making Signs


Hey, Everyone! I recently came up with a fun idea for Christmas gifts. Because I have a lot of pieces of wood left over from making the table top (featured in the last post), I decided to make some signs with them. This sign is for a stable that I volunteer at, called Freedom Reins Equine Connections. I noticed they don't have a nice big wooden sign for the stable, so why not make them one? :) 


Using some wood glue (I bought construction grade so that it will hold together well), I glued all of the boards together. Then to hold them while they dried, I used some tie-downs instead of investing in some clamps. The glue only takes about an hour to dry, but 24 hours to cure, so I left it for the day and then started working on it. 


Next, I used Varathane wood stain in Kona. It's one of my favourite stain colours! The stain took a few hours to dry, and I did both sides of the wood so that it looks even from all angles. 


After the stain had dried, I decided to slap on some old white paint that I had. Any paint would do, but keeping the letting in mind that I wanted to stencil on in black, I figured white would be the perfect contrast. It also helps give the wood a rustic weathered barn wood look. :) 


Even though there were lots of knots and inconsistencies in the wood, it added to the rustic look that I wanted. I love it when it looks naturally distressed! 


Once the paint was dry, I used 80 grit sand paper on a sander and lightly went over the entire sign. This made the stained wood grain really pop out and gives it lots of character. 
After wiping the last bits of sawdust off the sign, I began to set up my stencil letters to see how they would fit and then began filling them in with black acrylic paint. 


After the sign was finished, I put a few coats of outdoor polyurethane to protect it from the elements. Since I wasn't sure if it would be kept in the stable or hung outside, I made sure it was properly coated for protection. 


Making signs is a very fun and easy way to give a meaningful gift! 


Monday, December 14, 2015

Farmhouse Dining Table


Hey, Everyone! I am so excited to share this post with you today! I was given this dining table from my parents when I first got married. It has had a lot of wear and tear over the years, especially on the table top. I have always wanted a rectangular shaped table, since I'm not a big fan of the oval shape, so why not just rip the top off and make a new one in the shape that I want? This has been my first experience working with lumber and it has me really excited to keep working with it in the future! 
So, below is the table before our redo.... In the second photo, you can see why I wanted to replace  the table top.


 The first thing we did to the table was to remove the top off of it. Everything was attached with screws, so it was very easy to remove the legs first and then the frame. Next, we went to Rona and bought some spruce boards in the length and width we desired. We went with six foot long boards, two inches thick and ten inches wide. We originally measured the table wanting it to be four and a half feet long but figured it would be good to have a bit of extra to work with just in case. We ended up cutting it off, and now I'm using the extra pieces to make some nice signs. :) 


After bringing the boards home, we laid them out in the order we thought would look best, and used a  construction grade wood glue (that dries clear), to glue the boards together. I sanded everything after glueing them together. 


Below, is the frame that I decided needed a fresh coat of white paint. I did the same with the table's legs and after they dried, I used varathane over top to protect everything. 


We held the glued boards together by using snap on straps. It was much cheaper to use them than to buy clamps! 


After cutting the boards to the length we wanted, I sanded everything down (the glue was given 24 hours to dry).


Next came the fun part! I stained the wood using Varathane Kona wood stain. Because spruce is a softer wood, it absorbed the stain much faster than I had wanted, causing it to be very dark! I resolved to sand it down so that the wood grain would show through. I had done a lot of distressing to the wood using a hammer and wanted it to show a bit more for a rustic look. 


After sanding it so that the grain showed through, I dipped a cloth in some Minwax Special Walnut stain and rubbed it into the wood. It gave the wood more of an amber colour to it. 


Below, is the top after putting various coats of Polyurethane on to protect the table top. I used a lot because the surface is going to be used a lot! 


After the top coats were finished, it was finally time to put the table together! We made sure to centre the fame on the table for a perfect fit. I also had the underside of the table top stained so that it looks finished from all angles. 


And here it is! My dream farmhouse style table is all ready to go, I will have to refinish the chairs to go with it. :)