Hey, Everyone! I am so excited to share this post with you today! I was given this dining table from my parents when I first got married. It has had a lot of wear and tear over the years, especially on the table top. I have always wanted a rectangular shaped table, since I'm not a big fan of the oval shape, so why not just rip the top off and make a new one in the shape that I want? This has been my first experience working with lumber and it has me really excited to keep working with it in the future!
So, below is the table before our redo.... In the second photo, you can see why I wanted to replace the table top.


The first thing we did to the table was to remove the top off of it. Everything was attached with screws, so it was very easy to remove the legs first and then the frame. Next, we went to Rona and bought some spruce boards in the length and width we desired. We went with six foot long boards, two inches thick and ten inches wide. We originally measured the table wanting it to be four and a half feet long but figured it would be good to have a bit of extra to work with just in case. We ended up cutting it off, and now I'm using the extra pieces to make some nice signs. :)

After bringing the boards home, we laid them out in the order we thought would look best, and used a construction grade wood glue (that dries clear), to glue the boards together. I sanded everything after glueing them together.

Below, is the frame that I decided needed a fresh coat of white paint. I did the same with the table's legs and after they dried, I used varathane over top to protect everything.


We held the glued boards together by using snap on straps. It was much cheaper to use them than to buy clamps!

After cutting the boards to the length we wanted, I sanded everything down (the glue was given 24 hours to dry).

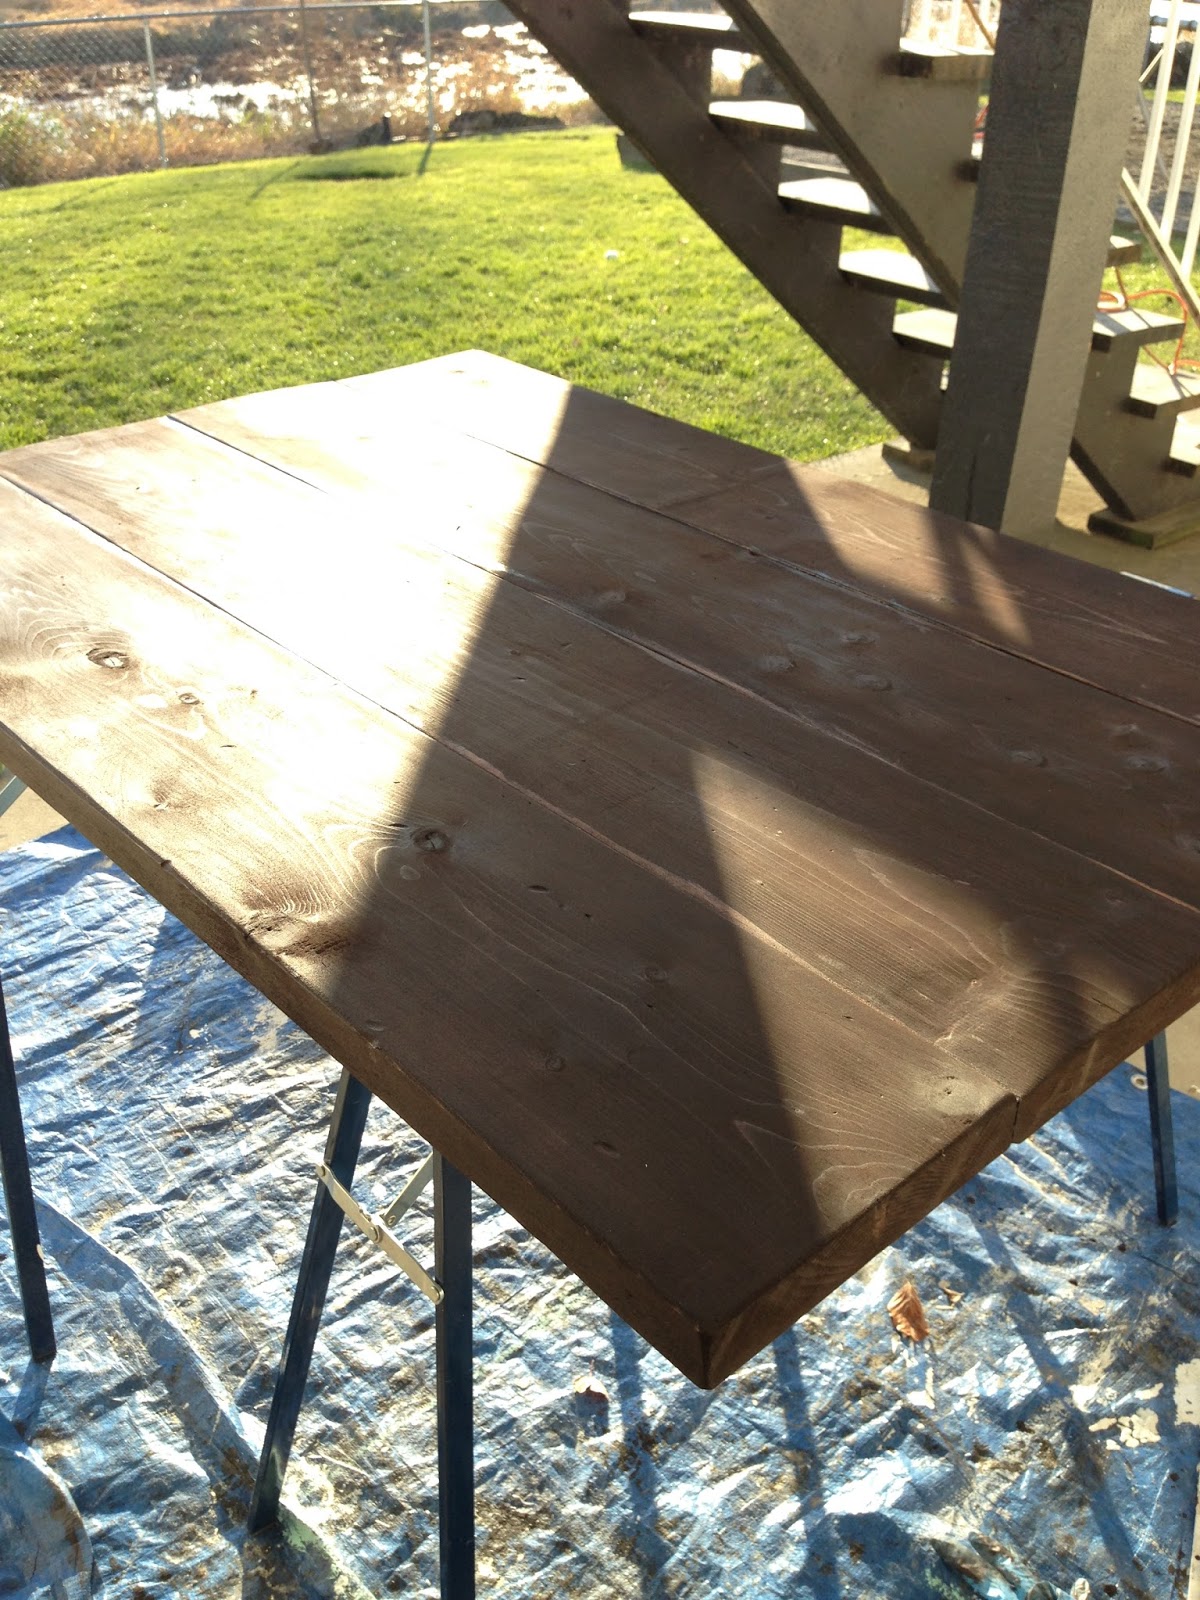
Next came the fun part! I stained the wood using Varathane Kona wood stain. Because spruce is a softer wood, it absorbed the stain much faster than I had wanted, causing it to be very dark! I resolved to sand it down so that the wood grain would show through. I had done a lot of distressing to the wood using a hammer and wanted it to show a bit more for a rustic look.


After sanding it so that the grain showed through, I dipped a cloth in some Minwax Special Walnut stain and rubbed it into the wood. It gave the wood more of an amber colour to it.

Below, is the top after putting various coats of Polyurethane on to protect the table top. I used a lot because the surface is going to be used a lot!


After the top coats were finished, it was finally time to put the table together! We made sure to centre the fame on the table for a perfect fit. I also had the underside of the table top stained so that it looks finished from all angles.


And here it is! My dream farmhouse style table is all ready to go, I will have to refinish the chairs to go with it. :)


No comments:
Post a Comment