Hey, Everyone! I am so excited to show you my latest project! A few weeks ago, I went to Ikea for the first time and instantly fell in love with their solid pine Rekarne side tables. They were such a good price and ready for refinishing, that it was easy to convince my husband to get them! This project took some trial and error with paint and stain colours, but turned out exactly as I imagined in the end! Below, is what the Rekarne table looks like assembled before refinishing.

After a bit of debating, I decided to try a new wood stain that I haven't used before. Varathane has a new line of wood stain and I instantly loved their dark chocolate colour, Kona. This is an oil based stain that really brings out the grain in the wood. Below, is the photo of my test piece on the underside of the table.


After sanding all of the pieces of the side table, I spent some time making dents all over everything with my hammer. I wanted the side tables to look very rustic and to already show wear so that I wouldn't have to worry about dents and scratches over time. Next, I brushed on the stain. To my dismay, the stain wasn't working like it had on the test piece. I should have spent more time sanding everything down beforehand. However, my brother had the idea to take a rag and gently rub off parts of the stain to make it lighter. The idea worked perfectly!

This next step might not technically be an error, but I used some off white paint that I made by mixing my very bright white paint with brown acrylic paint from the dollar store. The paint turned out great, but after I painted over the parts of the side table that would be the legs, I wasn't very happy with the colour. I thought it was too bright and a bit boring, to be honest. So, I went shopping and bought some Debi's Design Diary DIY Paint in Prairie Grey. This chalk paint is awesome and comes in a lot of beautiful colours and options!


In the photos above, you can see the white paint was still quite bright. In the photos below, the pieces got repainted in Prairie Grey.


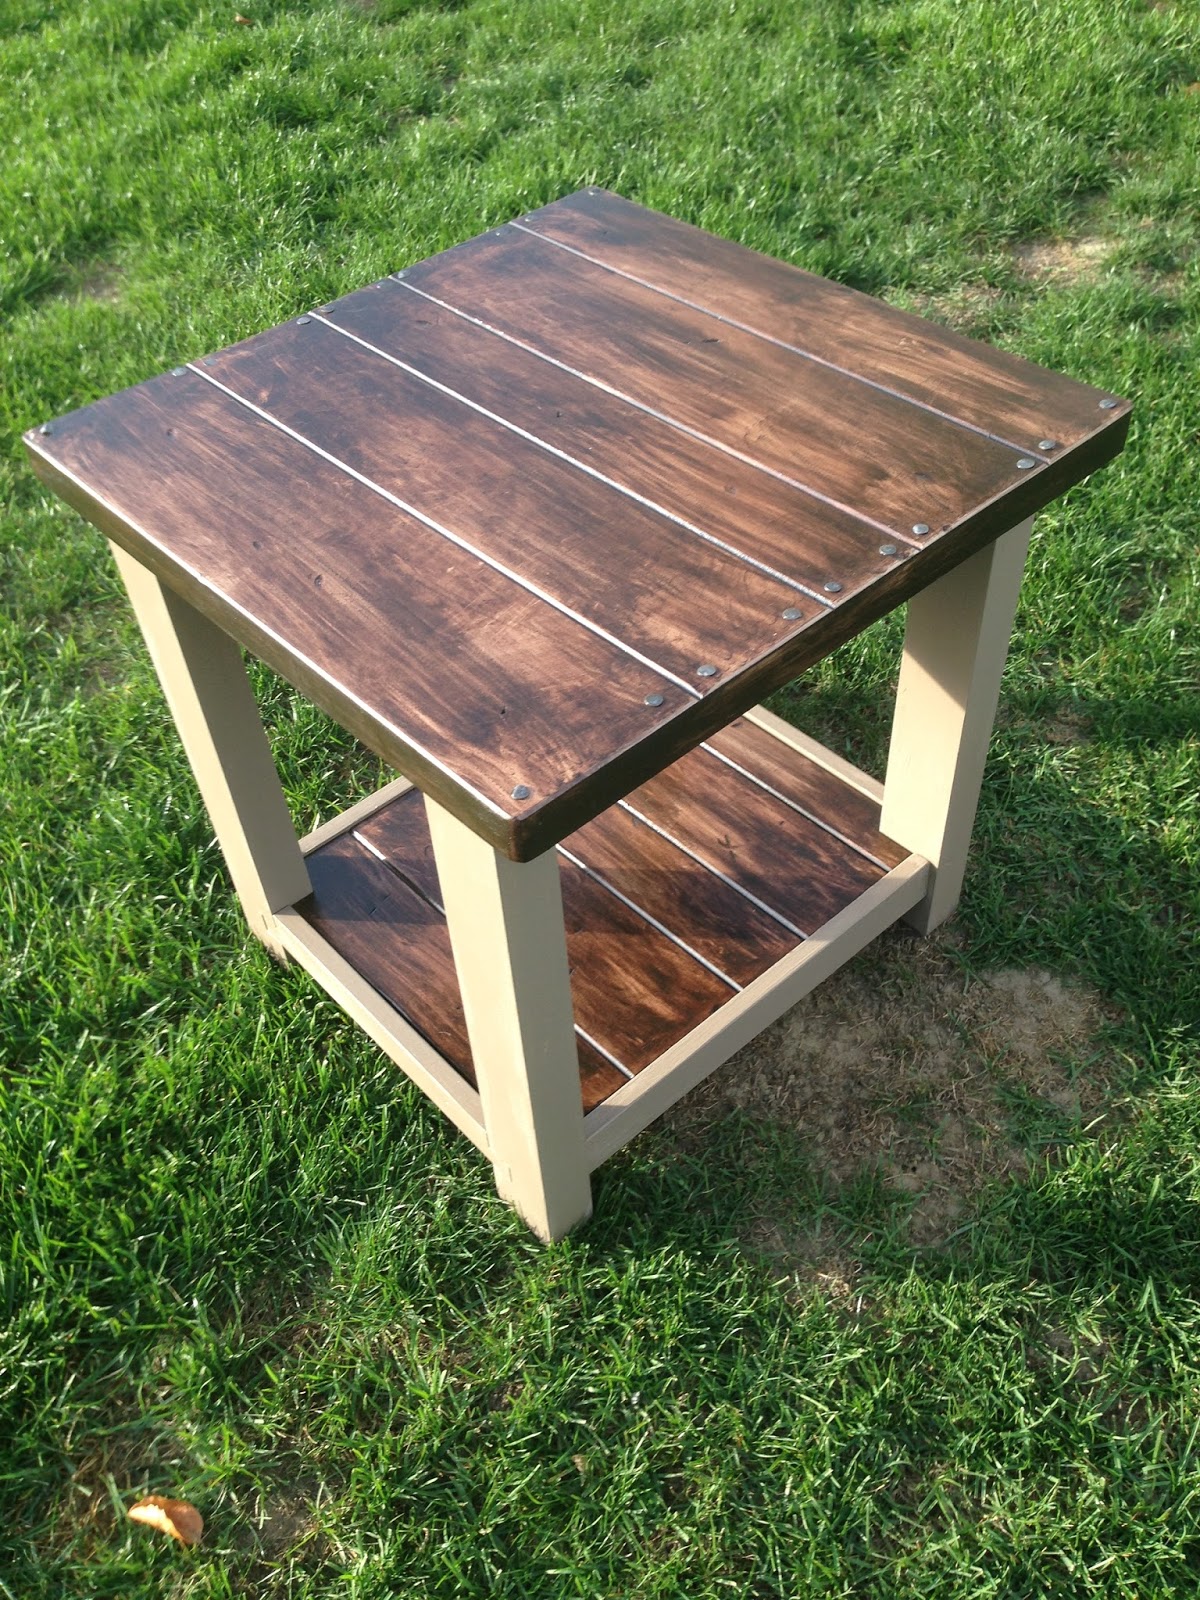
After the wood stain was dried and I was satisfied with how the table tops looked, I decided to make them even more rustic by adding some old nails on the sides. This gives a lot of character to the tables.

After the nails were in, I brushed on three coats of Polyurethane, an oil- based clear sealer to protect the wood.

After a lot of playing around and testing different colours and techniques, these Rekarne side tables turned out to be exactly as I had hoped! They make such a great addition to my living room!


:)
Hi! I'm trying this on out as well, but with the coffee table instead. My question is how much did you sand off? It seams like I have sanded for ever and it still look a bit white. Do you think I still can stain it?
ReplyDeleteThanks if you answer :)
/Andrea, swedish IKEA-co worker
Hi, Andrea! I totally understand your dilemma! I found that I needed to sand every piece down quite a lot, as it seemed to have a clear coat of some kind on it. If you've already spent a lot of time sanding, I recommend you take a piece of wood and do a practise test to see if it will absorb the stain the way you want it. My mistake was that I only sanded everything down quickly, so it was a struggle to get the look I wanted. On the side tables, it didn't a absorb exactly how I had wanted, so I used a technique of taking a rag and standing over it, I would quickly wipe the rag back and forth over top. It ended up looking great! Let me know if that's helpful, it can be tricky. I still had a lot of the white on it and the stain still worked.
ReplyDeleteI wish you all the best and would love to see the results of your coffee table! :)