Friday, April 3, 2015

Two Small Projects:


Hi Everyone! Since I've finished quite a few projects, it's time to show them off! After refinishing the hutch from the last post, I had a fair amount of the Annie Sloan Chalk Paint in Old White leftover. So, why not use it all up? In this post, I've painted an antique side table and a child's rocking chair. The best part about these projects was that once again, using chalk paint requires no sanding. First, I'll show you the side table. I was hired to paint it when I did the hutch. The details on the table's legs  couldn't be seen with the stain, but after painting, they really stand out! 


After painting, I used a coat of Varathane to protect the finish. I love the elegance of this table!

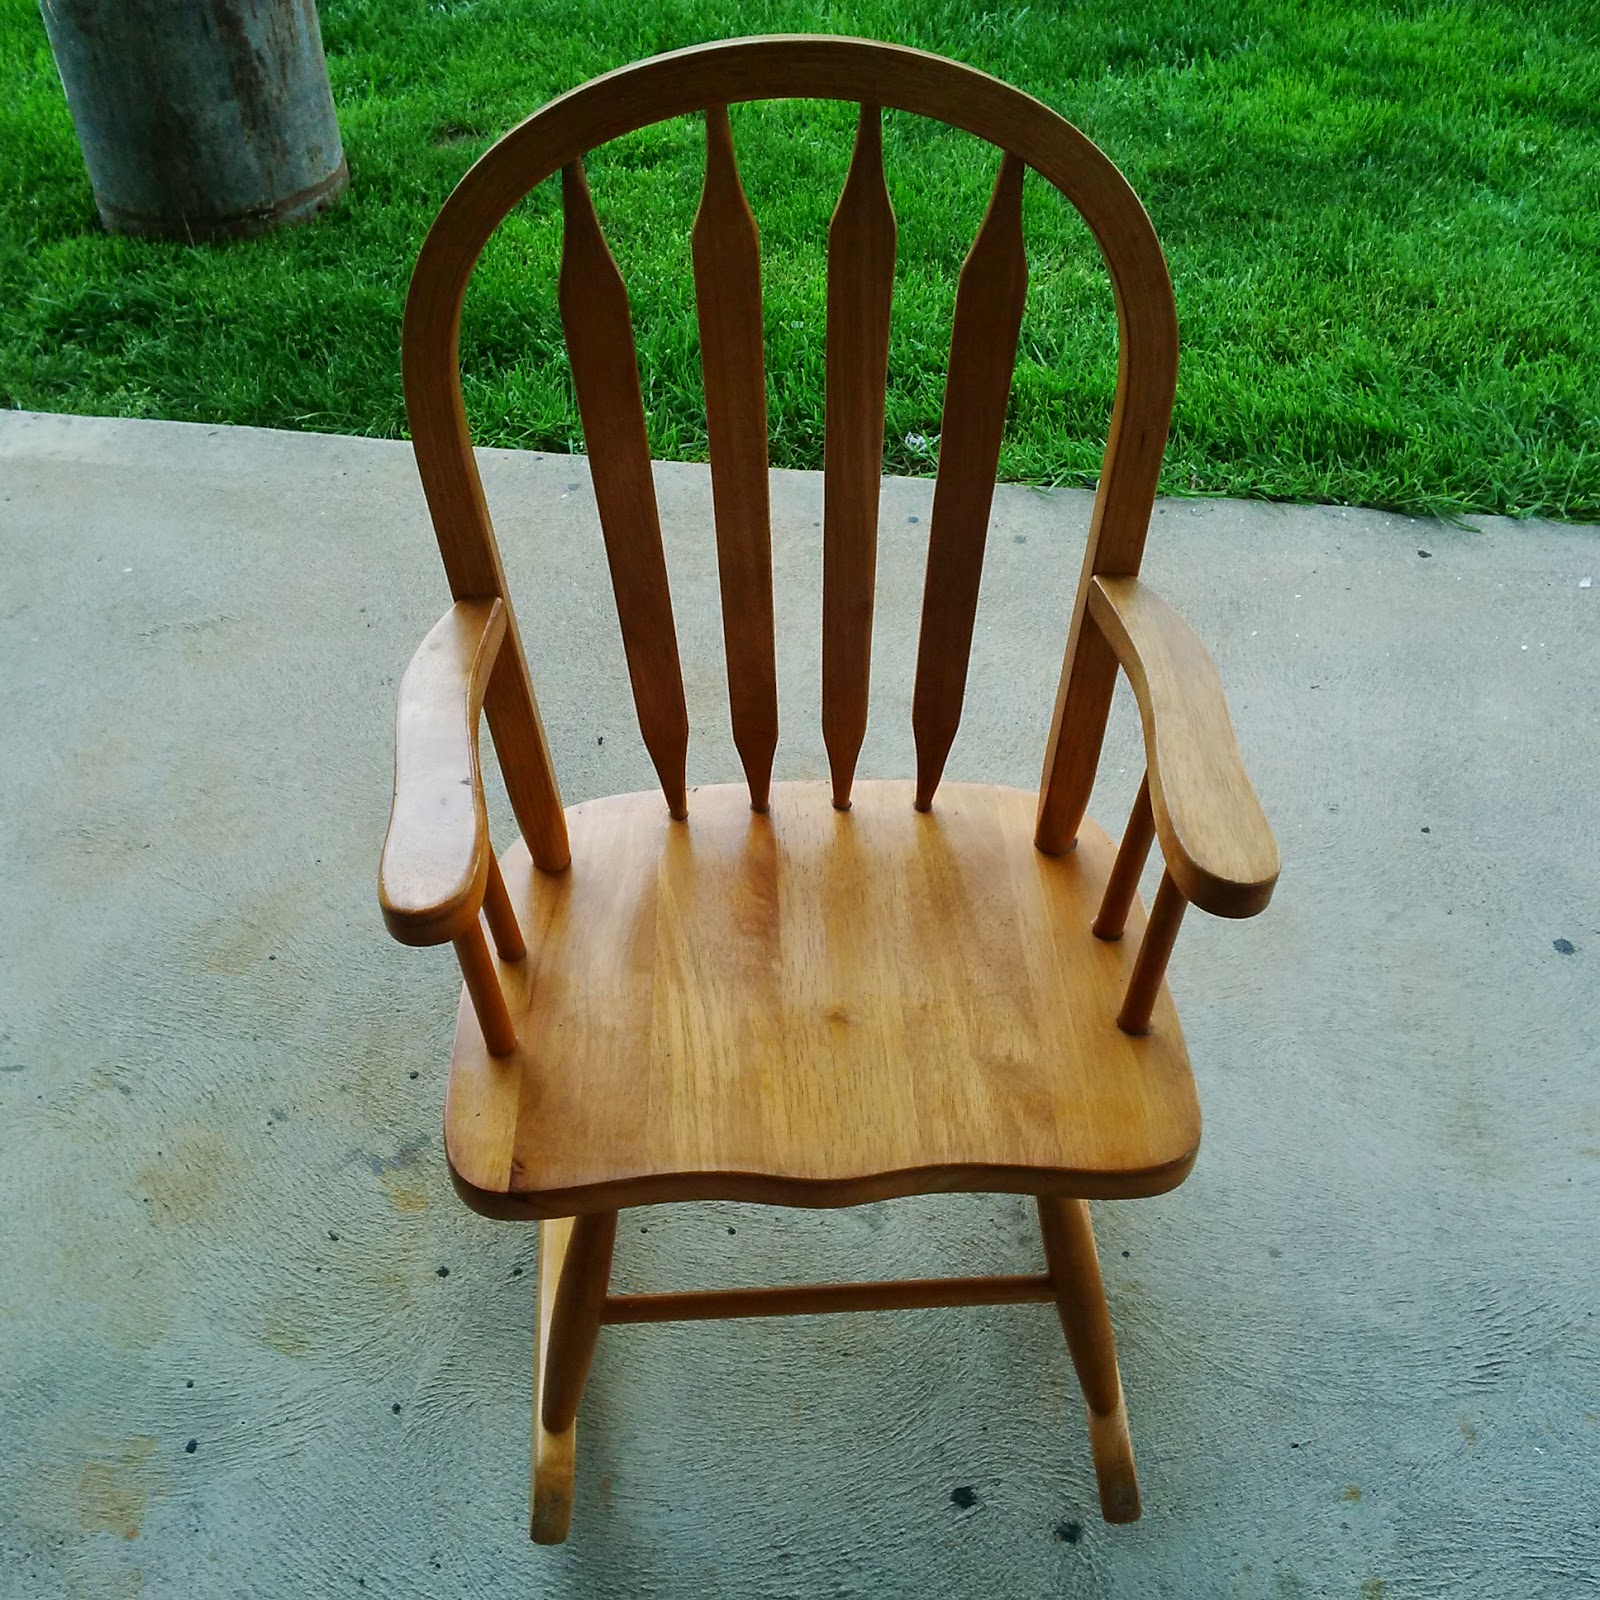
 And here is the child's rocking chair that I recently got for free. Since I had just a little bit of paint left, I was worried it wouldn't cover it entirely, but boy was I wrong! I had enough to do two coats!


 Although it's hard to see in the photo, I did a little distressing before putting Varathane on it. This gives it a shabby chic look!
Well, these couple of little projects turned out quite nicely! And once again, chalk paint made it go by quickly! :) 

Some New Tricks!

         Hey, Everyone! I've been working on quite a few projects - I'm very excited for you to see them! Today I'm going to share the hutch I was recently hired to refinish. After looking into a few options, we decided the most feasible option would be to use Annie Sloan Chalk Paint. Instead of stripping and sanding down the dark stain that was already on the hutch, we wanted it to show through the Annie Sloan Old White paint colour we selected. The results were a huge transformation! This hutch also had some very out dated brass metal drawer pulls and knobs. The owner requested that I try spray painting them a chestnut brown shade. I was pretty nervous about trying this for the first time, but they turned out beautifully. What was a very dated antiquated hutch, now has a fresh, bright look! 
This is the top of the hutch, as you can see, it looked quite dated.

And this is the bottom half, previously being used as a TV stand.
 After taking all of the hardware (knobs, hinges, etc.), the next step was to tape off the window to the upper cabinet. This way there wouldn't be any paint residue to have to clean off afterwards. What I absolutely love about chalk paint is that it requires no sanding! What a time and money saver! It would have taken hours of sanding and wood stripping to get to this step, but the chalk paint easily adhered to the already varnished wood!
 This photo is a great example of how I distressed the hutch by painting. There was no sanding required to get this look. This "brushed" technique is one I'm starting to perfect after so many projects! 
 After doing one coat, the hutch was almost unrecognizable! I did a touch up by doing a second, very thin coat of paint.
And what a difference! Already it's going from outdated to a classic vintage look!
After applying a couple coats of Varathane to protect the finish, the next thing to do was to spray paint the hardware to give it an update too!
This is the spray paint I used by Rust- Oleum. It is a paint and primer for any surface - wood, metal, you name it! We chose the colour Chestnut, since it would add some elegance to the hutch and make the hardware really stand out! 
Here is all the hardware waiting for some new paint.
 This is after one coat of the spay paint. At first I was worried because the paint seemed to crackle. The image below demonstrates it better. Thankfully, after a few more coats the paint adhered to the hardware and was nice and even!
After the hardware had dried off, I used KRylon Color Master, which is a clear protectant to keep the paint from coming off.
Once the hardware was dried off completely, it was time for us to put the hutch back together and see the final results...


This project surprised everyone when they saw the transformation! I found the chalk paint and spray painting to be very user friendly and will definitely continue to explore both of these products. In the end, the time saved by not having to sand and the money saved by not having to buy new hardware made this project a very feasible one, with great results!

Friday, March 6, 2015

Chalk Paint Bookshelf

      Hey, everyone! Today I thought I'd show you my most recent project! A client of mine asked me to refinish this bookshelf for her. She wanted me to use Annie Sloan's Chalk Paint in Emperor Silk. The results were fantastic, I really love how the paint darkened as it dried. This distressed bookshelf looks more updated without losing any of it's charm. 

This is how the bookshelf looked when it arrived. It had a light red wood stain. 

I sanded the bookshelf with 80 grit sandpaper. It was so easy to sand down, it only took me about 20 minutes!

Since chalk paint can be very expensive, we decided to paint the bookshelf initially using just basic black acrylic paint. This saved the cost and didn't take from the look we were going for, as the Emperor Silk colour we were going to use on top of it was going to be the main feature to this bookshelf. 


As a test, I only painted the top of the bookshelf with the chalk paint to start. When wet, it was a very bright red, but it dried to a much darker shade. Chalk paint has so many amazing qualities as it can be used on wood and fabric, and can stay on without the need for sanding. It can be more expensive, but in my experiences, it's always worth it! 


 And after my test piece, I painted the rest of the bookshelf. The client really liked the "brushed" effect I had used previously on the Pedestal Dining Table, and requested that the same technique be used on the bookshelf. The inside of the bookshelf was left solid black, while the shelves were painted in the red to create some contrast. 


 After touching up some of the inside areas that got a bit of red on them from painting the shelves, the result is a clean, updated look! 


And finally, a coat of varathane to protect everything! 


Thursday, December 4, 2014

The New Addition to My Kitchen!


Hello, everyone! I am getting so excited for Christmas! And part of getting ready for Christmas usually equates to my needing to go crazy decorating the house and refinishing furniture that I've been putting off for too long. I bought this potato cupboard from a family member a long time ago but never got around to refinishing it. I also couldn't decide how I wanted it to look. At first, I had envisioned painting it black and distressing it for a more primitive, rustic look. However, I really wanted the black hinges to stand out more because they give it so much character. After redoing my coffee table (you can see it in my last post), I thought I'd apply the same technique to the whole cupboard. 

 Originally, the potato cupboard was stained a golden/honey colour but I wanted to change it up and add to it's character. After sanding it down, I painted it with a basic white paint.


Just like with the coffee table, the white paint was very bright, so I sanded the wood down to show the wood grain beneath. I actually tested this new technique on the potato cupboard before I did the coffee table. I was really happy with the results!


After sanding, I dipped an old rag in Minwax's Dark Walnut Woodstain and rubbed it into the wood, to make the paint more grey coloured and to make the wood grain stand out. After that, I used a clean rag to wipe the excess stain off. I rubbed quite a lot because I didn't want the paint to look too dark.


And finally, after all of it had dried, and I put a clear coat of Varathane on to protect it, I put the hinges back on! They really stand out against the weathered grey wood! To make the wooden knobs match the rest of the cupboard, I lightly sanded them down and then dunked them in the Dark Walnut wood stain and let them dry.


 My dog, Rebel, was very interested in my phone, he managed to sneak into one of the photos I was taking! 


 And there we have it! A great piece to add to my kitchen that was super easy to do! Hope you all enjoyed today's post! :)