Tuesday, March 15, 2016

Wooden Signs


Hey, Everyone! Today I thought I'd show you another project that I've just completed. I got some fantastic stencils the other day and really wanted to use them! Taking various sizes of wood, I sanded the boards down and painted them with various colours of chalk paint. A family member asked me to make an address sign for them, so I used a medium sized board for it.


The board on the bottom left corner was the perfect size for an address sign. I used DIY Chalk Paint in Prairie Grey and black acrylic paint for the stencilled numbers.


For the longer board below, I wanted to create a farm sign, using horse shoes. 


Here is the address sign completed with a final coat of Outdoor Varathane to protect it. And for the smaller white board, I used my newest stencil, the French Hotel.


Overall, these signs turned out great and will be cute decorations! I have another person interested in the mint green sign but they haven't decided what they want it to say yet. When that one's complete, I will post it on the blog. :) 


Friday, February 26, 2016

Spring is Around the Corner

Hey, Everyone! It seems like spring is just around the corner, so with gardening in mind, a client asked me to give a wagon she uses as a planter a new look. Her request was for off-chalk paint to be used on it and for the wheels and stencil to be black.


Here's the wagon before I did anything to it. Because of the wood bars on the sides, it made stencilling difficult, so we decided to remove one on each side to create some space.


After removing the wooden strips off the sides, I sanded it down so there wouldn't be any splinters. Now for the fun part!


To give it a distressed look, I first painted the wheels, then painted certain parts of the wagon with the black paint so that it would show through the off-white.


While waiting for the paint to dry, my brother kindly cut out my stencil for me, it turned out great!


After the black paint was dried, I painted over top with the off- white chalk paint. Then I added our stencil to each side.


And with a little bit of distressing and a few coats of outdoor varathane, this wagon is ready to be used as a planter, a great addition to the garden. :)


"Like" Our New Facebook Page

Monday, February 1, 2016

Silhouette Signs


Hey, Everyone! I thought I'd show you one of the simple projects that I've been working on recently. Since I've got lots of scrap wood left over from my dining table project, I've been coming up with ways to use it up! I didn't really have much of an idea for what to do when I started making this sign, I first wood glued the two pieces together and then used some of my DIY vinegar wood stain to give it that "weathered" look. I've seen lots of deer head signs lately and thought it'd be interesting to make a stencil of my own and give it a try. 


In the photo above, I used a picture of a deer head silhouette that I printed off onto thicker paper. I then cut the shape of the deer head out to make it a reverse stencil, where the wood stain would be the deer head and the paint would be on the outside, as opposed to the other way around. 


After holding the stencil down, I carefully painted over top and around the stencil, it turned out great! 


And here it is! A simple, yet very fun project to do on a rainy day. And it was very cost effective, another thing to add to the repertoire. :) 


Sunday, January 17, 2016

Stained Bookshelf


Hey, Everyone! I have a friend who needed a bookshelf refinished for her office.This was such a nice project to do, because she had already started sanding it before I got to it! She chose Minwax's Dark Walnut Wood Stain to make it match with her other office furniture. Choosing a darker colour to stain over a light stain makes the process a lot easier, as opposed to having to sand down a dark stained piece of furniture in order to stain it light. Because we were going darker, I didn't have to sand the bookshelf right back down to bare wood. Below, is the bookshelf before I started working with it. 


After sanding it down, I used a damp cloth to wipe off bits of dust left over. We decided to lay it down on it's back side so that I could seamlessly stain all parts of the shelf. 


Staining the wood was quite simple, I first brushed the stain onto the wood, then I went over it with a rag to wipe off the excess. 


Unfortunately, I don't have any photos of the bookshelf completed standing up-right. This was a very easy and fun project to do, and shows what a simple coat of stain can do to give furniture a new look.  


Family Signs


Hey, Everyone! It's been awhile since my last post, with the holidays there was so much going on that I didn't get to post as much as I was hoping to. I thought I'd show you another sign that I made, one I gave to a relative for Christmas. It is so nice having something personal to hang up in your home! To make the base for the sign, I used a construction grade wood glue and glued three pieces of wood together. I used tie downs, strapped together to act as a clamp to hold the wood together. Next, I sanded the wood and wiped it down with a damp cloth to get any of the dust off. 


I've recently discovered another wood stain colour that I absolutely love - Minwax's Special Walnut. I decided to use it to bring out the variations in the wood, the more rustic it looks, the better! 


Next came the challenging part - stencilling. I've done a fair bit of stencilling before, so I knew how to space out the lettering. I figured white lettering would stand out more against the stain than using black. I used Martha Stewart's stencil letter set, you can find it easily at most craft stores. After arranging the letters, it's best to tape them down with painter's tape. 


After the lettering dried, I applied a few coats of outdoor polyurethane to protect the wood. Since I wasn't sure if the recipients would want hang it up outside, I made sure they would have the option. 


I was really happy with how this project turned out! It was an easy, fun gift that has so much meaning. :) 


Monday, December 21, 2015

Giving Old Chairs An Update:


Hey, Everyone! Remember the beautiful dining table I recently refinished? It needed one last step to make it complete! It seemed pretty odd to pair my updated table with out dated chairs! Since they are solid wood, it was very easy to refinish them! Using spray paint is a great option for projects like chairs because the paint can reach odd corners and areas that would normally take forever to paint by hand! I've hand painted chairs before and hated every minute of it! Thankfully, spray painting is much easier. :) 


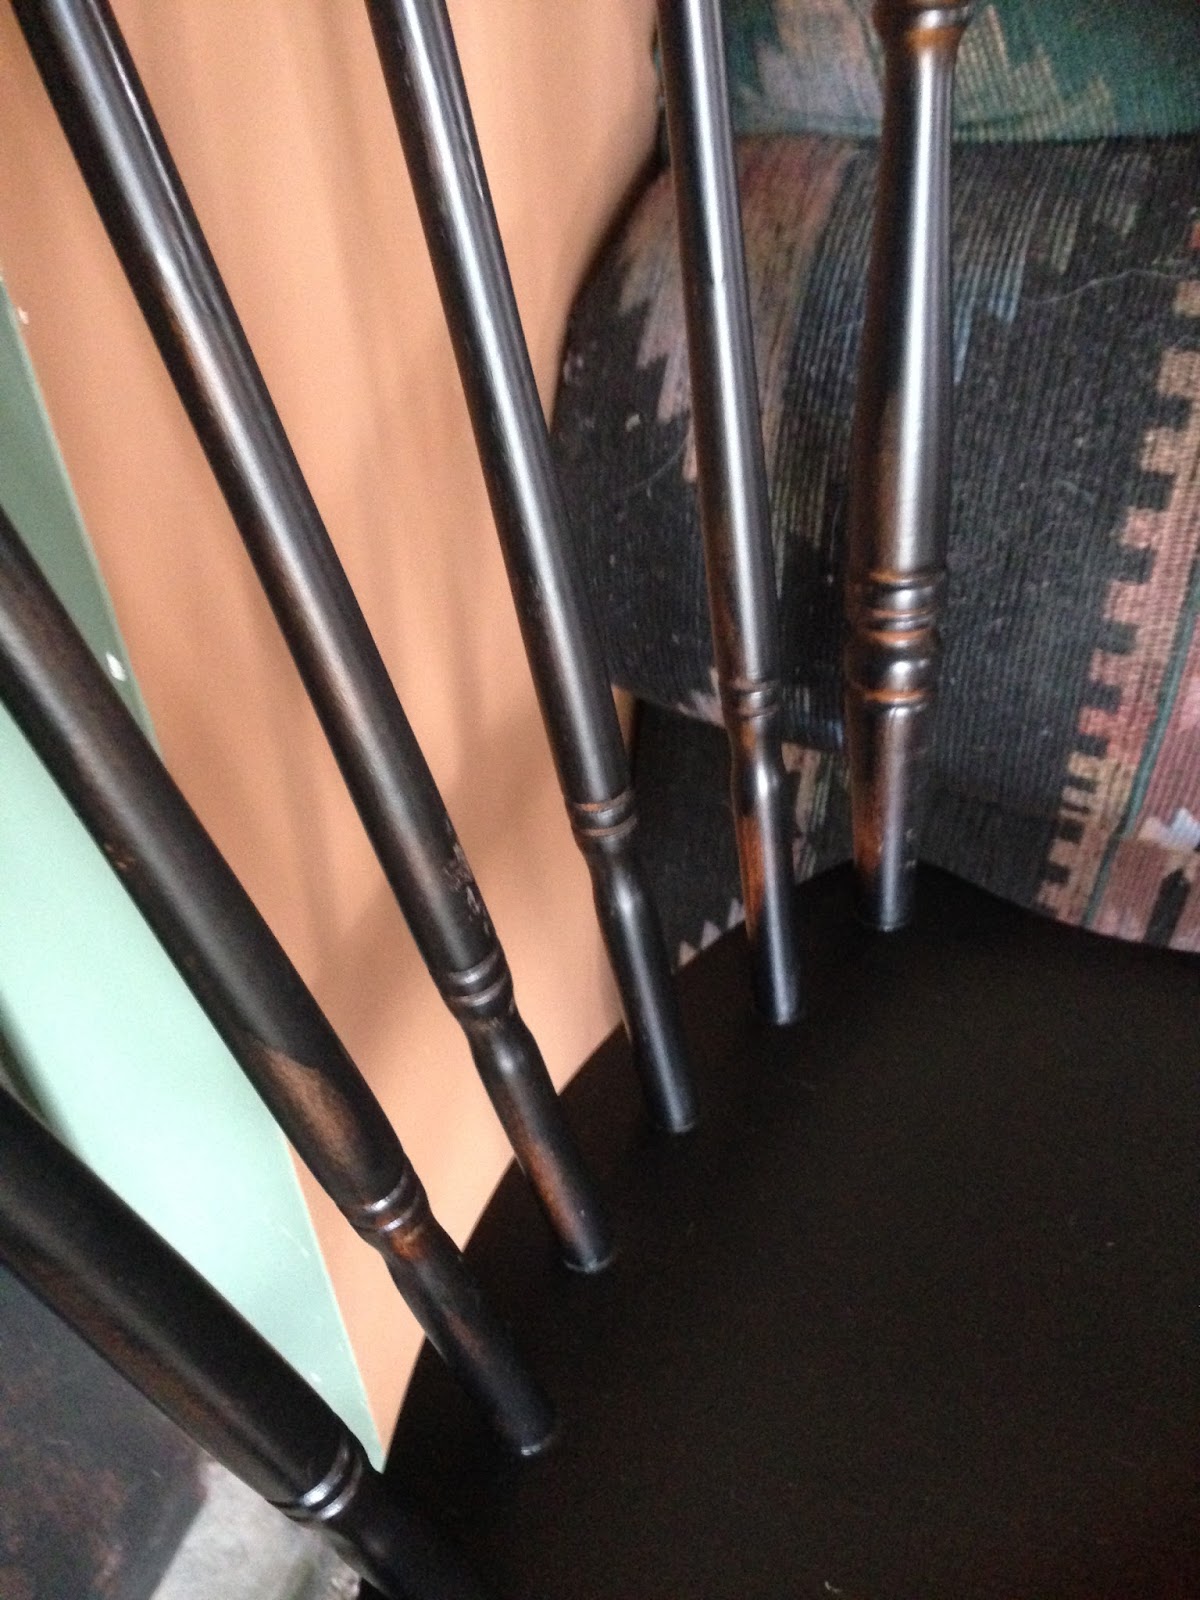
When spray painting chairs, it's important to make sure you flip the chair down so you can get the undersides and underneath where the back rest is too. People sometimes forget this step, and then realize later on that they missed parts of the chair. Below, is the first chair I spray painted. The paint turned out great, but was not as black as I had wanted. So after a quick run to the store, I got it right. 


Using Krylon spray paint in a flat black with primer built in, it saved me from having to do lots of coats on the chair and after it dried, I realized I really didn't need to put a clear coat over top either. This was such an easy project but it make the chairs look so classy and elegant! 


In the picture below, you can see that I left some areas of the red showing through the black paint. I did this on purpose to give it a distressed look. All of the chairs look amazing with a hint of the red showing through in areas! 


All set up with my table, they match so perfectly! This is such an inexpensive way to update your furniture and it will last for years! The black contrasts beautifully with the white legs on the table to really give an elegant farmhouse feel. :)